Polaris Leap: Overview
Updated: 4/28/2025
Overview
- Logging In
- Workforms Tracker (Hamburger menu)
- Searching
- Check In Button
- New Patron Button
- New Menu
- Utilities Menu
- Help Menu
- User Menu
- Related ODIN Trainings
Circulation, Cataloging, and Acquisitions functions are all available using the Polaris Leap web app. Since it is fully web-based, it is accessible from anywhere with an internet connection.
To access Leap, open a web browser (Chrome or Firefox is recommended).
- Leap Production/Live Environment (opens in new window): https://polaris.odinlibrary.org/leapwebapp/login
- Leap Test/Training Environment (opens in new window): https://odin-training.polarislibrary.com/leapwebapp/login
Logging In
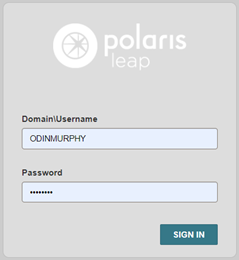
Sign in with your Username & Password. If you do not yet have an account, contact the ODIN Office to set one up for you.
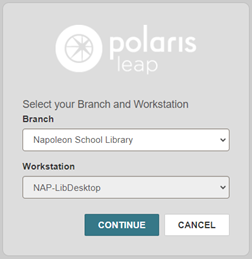
Select your Branch and/or Workstation if necessary. Click Continue or press Enter.
- Note: This secondary login screen will not appear if your library has only one Branch/Workstation associated with it.
The Leap interface will appear.
Blue banner indicates the Production/Live Environment:

Coral banner indicates the Test/Training Environment:

Workforms Tracker (Hamburger menu)
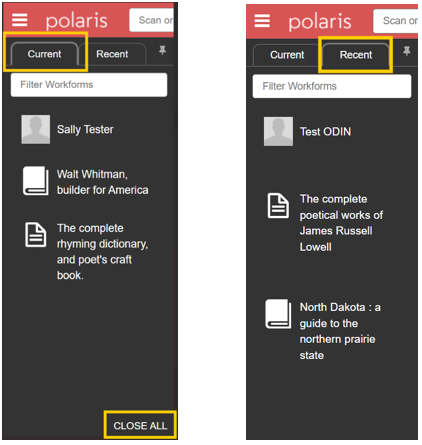
Clicking the “hamburger” menu in the upper left corner of the screen will display the workform tracker. This allows for quick navigation between bibliographic, item, and/or patron records:

- Current tab: Displays records currently open in Leap. Clicking on these will quickly navigate to the selected record. Click CLOSE ALL to close all open workforms at once.
- Recent tab: Displays records that have been recently accessed and closed. Clicking on these will reopen the selected record.
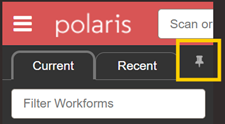
- Pin icon: Pins the workform tracker to the left-hand side of the screen. This allows it to remain visible as you use Leap.
Searching
Next to the logo is the Quick Search box. This allows for a quick search of bibliographic, item, and patron records by barcode or search term:

As you type in your search term, suggestions will populate below:
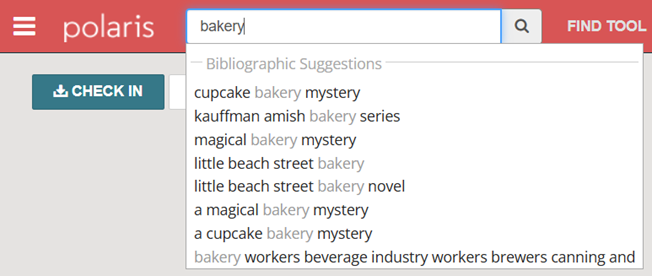
You may choose an option from the suggestions or complete typing your term manually before launching the search.
Depending on your search term, the Find Tool may open automatically, allowing the opportunity to further refine your search criteria. Click on your selected record to highlight it and choose Open (or double-click the selection):
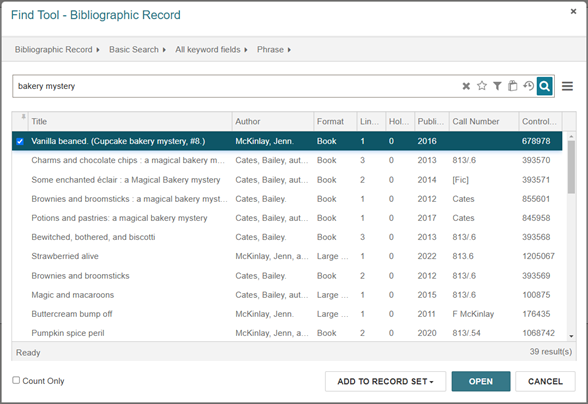
Alternatively, you may start a more advanced search by clicking FIND TOOL:

For additional information on searching with the Find Tool, visit Using the Leap Find Tool (coming soon!).
CHECK IN Button
Below the Quick Search, you will find the CHECK IN button:

CHECK IN navigates to the Check In screen and displays different "modes" for checking in materials:
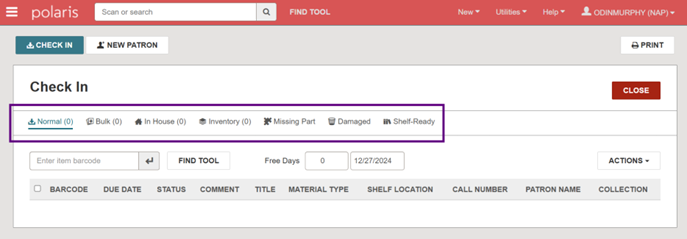
- Normal: Used for most returns. If there are overdue fines associated with any returns, Normal mode will display an Overdue Fine dialog box allowing staff the option to charge, adjust, or waive the fine before checking in the item(s).
- Bulk: Can be used for bulk returns, like from a return drop. If there are overdue fines associated with any returns, Bulk mode will automatically apply them while checking in the item(s).
- Note: There is no difference between Normal & Bulk check in modes if your library does not charge overdue fines.
- Note: There is no difference between Normal & Bulk check in modes if your library does not charge overdue fines.
- In-House: Used for tracking usage of items that patrons use within the library (i.e. board games, puzzles, non-circulating materials).
- Inventory: Used for conducting inventory. Scanning items in under this tab will update the Last Inventory Date field in the item record. For additional information on conducting inventory, visit Inventory in Polaris Leap.
- Missing Part: ‘Manage Missing Parts’ dialog box will appear with the option to add a Special item Check-in Note or Make the Item Unavailable. Places item into Claim Missing Parts circulation status.
- Damaged: ‘Declare Item Damaged’ dialog box will appear with the option to Declare damaged: Charge and notify or Declare damaged: Update item only. You may also add an optional Special item Check-in Note. Places item into Damaged circulation status.
- Shelf-Ready: Used to check in shelf-ready materials received from a supplier (Enriched EDI).
NEW PATRON Button
Next to CHECK IN is the NEW PATRON button:
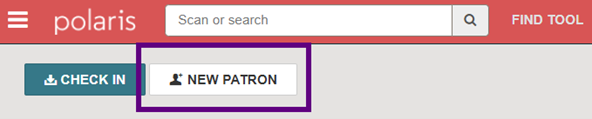
NEW PATRON opens a blank Patron Registration workform. Fields with asterisks are required. Registered At, Date of Registration, Expiration Date, and Address Check Date fields will auto-populate:
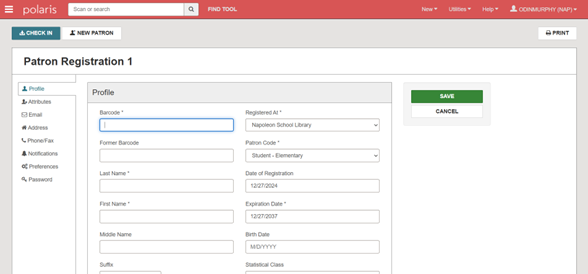
For additional information on registering new patrons, see New Patron Registration.
Clicking the PRINT button, in the upper right-hand corner, will print the contents of your screen:

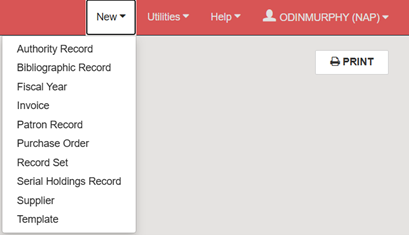
New Menu
You may use the New menu in the upper right-hand corner of the screen to create new records, PO’s/Invoices, Record sets, Templates, etc.:
Utilities Menu
The Utilities menu, in the upper right corner of the screen, is used to access additional areas within and outside of Leap:
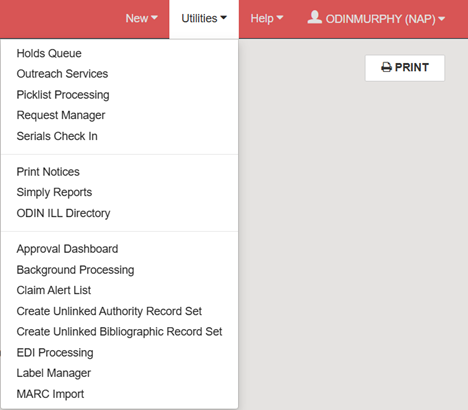
- Holds Queue: Allows staff to search for hold requests attached to a specific bibliographic or item record. From the Holds Queue, you can view hold requests, place new requests, cancel, and transfer holds. For additional information, see Holds Queue (Managing Hold Requests in Leap).
- Outreach Services: Opens the Outreach Services Manager for those libraries offering outreach services to patrons. For more information, see Outreach Services Overview.
- Picklist Processing: View and manage hold requests from other ODIN libraries. For additional information, see Picklist Processing (Managing Hold Requests in Leap).
- Request Manager: View and manage Hold/ILL requests that designate your library for pickup. For additional information, see Request Manager (Managing Hold Requests in Leap).
- Serials Check In: Search for and view serial holdings records. Manage and check in serial issues or parts. For additional information, see Checking In Serials.
- Print Notices: Generate and print mailing notices and statements for patrons. For additional information, see Polaris Leap: Notices/Notifications.
- Simply Reports: Navigates to Simply Reports, the reporting module for Polaris. For additional information on creating reports, see Simply Reports Basics.
- ODIN ILL Directory / Online Catalog (PAC): If your library participates in resource sharing, you will see the ODIN ILL Directory link. This navigates to the ILL Contact Directory on the ODIN website. If your library doesn’t participate in resource sharing, you will see the Online Catalog (PAC) link. This navigates to your library’s online catalog (PAC) discovery page.
- Approval Dashboard: Gives requesters and approvers one place to approve/decline weeding record sets or view waiver requests. Used by libraries who have multiple staff members involved in the weeding process or want supervisors to approve waived charges before they are applied to a patron account.
- Background Processing: View and manage bulk change processes, MARC imports, and bulk waive fines. Requires bulk change & import permissions for use.
- Claim Alert List: View and manage serial issues and parts that are eligible to be claimed based on the Days After Release/Expected Arrival setting in the supplier record and claim intervals configured in the serial holdings record.
- Create Unlinked Authority Record Set: Ignore. Authority records are managed by the ODIN Office.
- Create Unlinked Bibliographic Record Set: Ignore. Unlinked bibliographic records are managed by the ODIN Office.
- EDI Processing: Use to receive EDI orders that use an advanced shipping notice (ASN).
- Label Manager: If your library generates spine labels using Leap, this is where you may edit and print them. For assistance configuring spine labels in Polaris, contact the ODIN Office.
- MARC Import: Used for importing MARC records into Polaris.
Help Menu
Use the Help menu in the upper right corner of the screen to access additional resources and documentation for Polaris Leap:
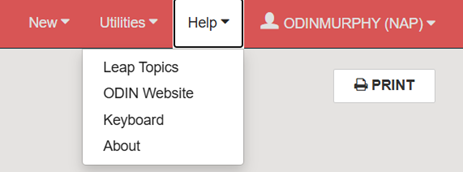
- Leap Topics: Opens the Leap online help module
- ODIN Website: Navigates to the PKS landing page on the ODIN website where additional staff resources and training materials can be found for member libraries.
- Note: This link may be customized to navigate directly to the ODIN Help Ticket form where you may request technical assistance from the ODIN Office.
- Note: This link may be customized to navigate directly to the ODIN Help Ticket form where you may request technical assistance from the ODIN Office.
- Keyboard: Displays a list of circulation & cataloging-related keyboard shortcuts available to use within Leap.
- About: Displays additional information about the Polaris Leap application and user account.
User Menu
The user menu, in the upper right corner of the screen, is used to navigate to additional settings, clear cache, refresh permissions/offline installation, and log out:
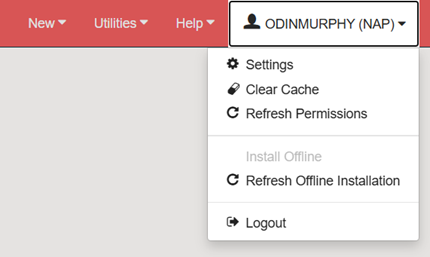
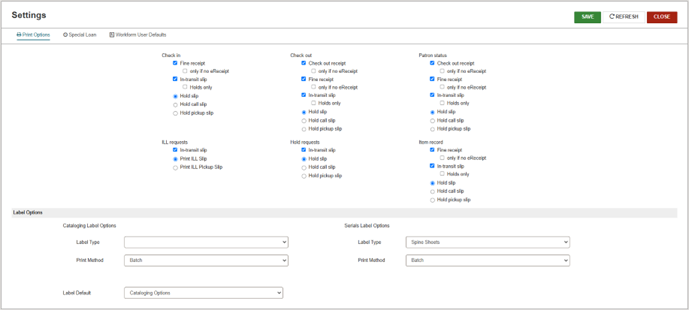
- Settings: View and manage your user-specific settings.
- Print Options: Sets options for printing receipts and slips in Leap.
- Label Options: Sets your Cataloging & Serial Label defaults if your library generates labels via Leap.
- Image
- Special Loan: Sets a special loan period to apply to all check-outs for the logged-in session. Select the Apply to all check-outs checkbox to enable changes.
- Image

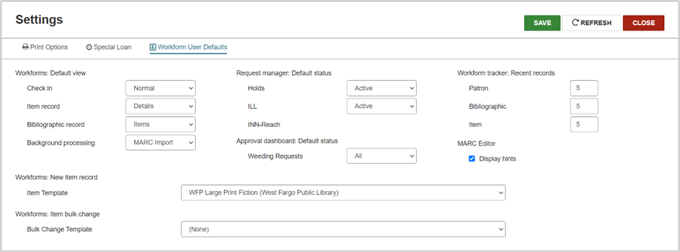
- Workform User Defaults: Sets preferences for the way Leap displays information on certain workforms.
- Workforms: Default view - Sets your default views for the Check in screen, Item records, Bibliographic records and the Background processing screen.
- Request manager: Default status - Sets your default status selection for the Holds & ILL tabs in the Request Manager.
- Approval dashboard: Default status - Sets your default status under the Weeding Requests tab of the Approval dashboard.
- Workform tracker: Recent records - Sets the number of records tracked (up to 99) in the workform tracker for patron, bibliographic and item records.
- MARC Editor - Use the Display hints checkbox to enable or disable hints while using the MARC Editor.
- Workforms: New item record – Sets your default item template selection when creating new item records.
- Workforms: Item bulk change – Sets your default bulk change template selection.
- Workforms: Default view - Sets your default views for the Check in screen, Item records, Bibliographic records and the Background processing screen.
- Print Options: Sets options for printing receipts and slips in Leap.
- Image
- Clear Cache: Clears stored Polaris data from your browser’s cache.
- Refresh Permissions: Refreshes your user permissions with the latest settings from Polaris Administration.
- Install Offline / Refresh Offline Installation: If you have not yet installed Leap Offline on your workstation, you will see the Install Offline option. If you have already installed Leap Offline, you will see the Refresh Offline Installation option. For additional information, see Offline Circulation in Leap.
Logout: Logs you out of Leap. It is recommended to log out and close your internet browser at the end of each day. This allows system settings to properly refresh and record locks to release.
Image
Related ODIN Training