Creating Templates in the Metadata Editor
Updated 06/06/2025
You will need one of the following roles to work with templates:
- Cataloger
- Cataloger extended
- Catalog manager
- Catalog administrator
Record templates are available in the Metadata Editor for bibliographic templates and holdings templates.
You can add out-of-the-box templates to the Metadata Editor or create your own.
Adding an Out-of-the-Box Template to the Metadata Editor
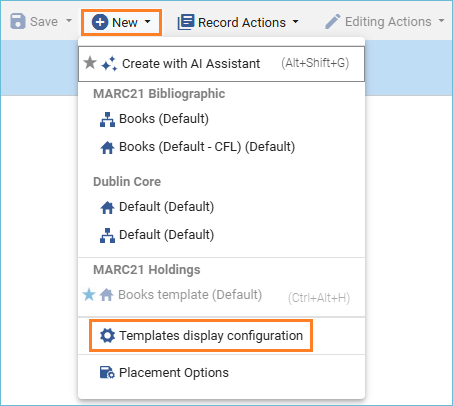
From the New menu, select Templates display configuration.
A list of templates appears, and on the right side, there is a toggle to add them to the Add Inventory menu in the Metadata Editor.
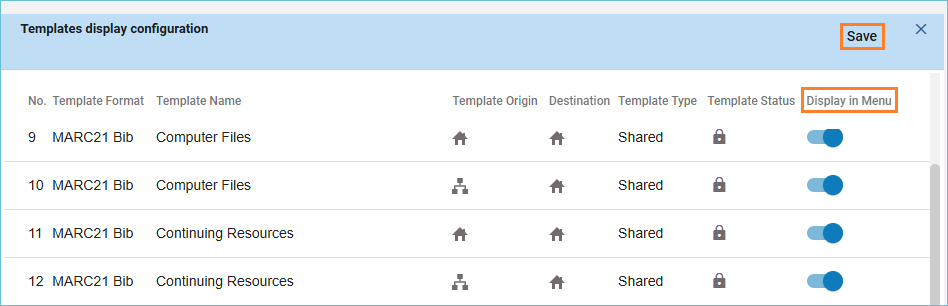
From this screen, you can remove templates you do not use and add the ones that you do use. When you are done, click the Save button.
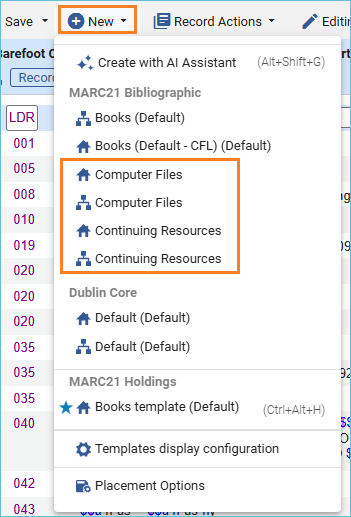
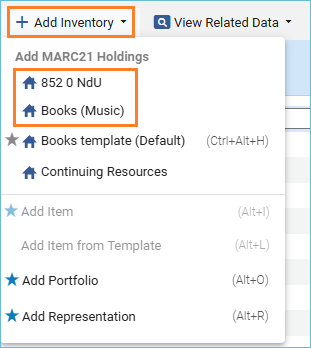
You can now see the bibliographic templates as options on the New menu, and the holdings templates as options on the Add Inventory menu.
Note: Others in the institution will not see these menu options unless they also add them through the Templates Display Configuration.
How to Copy and Update Community Templates
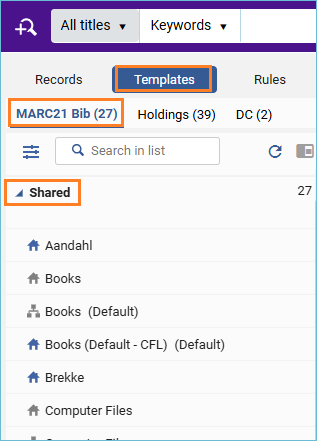
To view available templates, click on the Templates tab and select either the MARC21 Bib tab or the Holdings tab (depending on the type of template you want to copy and edit).
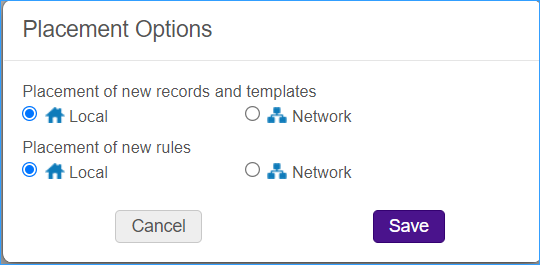
To make a copy of a community template, make sure your record placement options are set to save templates locally. Placement options are set from the New menu.
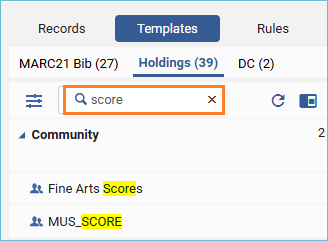
There is search box to help you find the type of template you need.
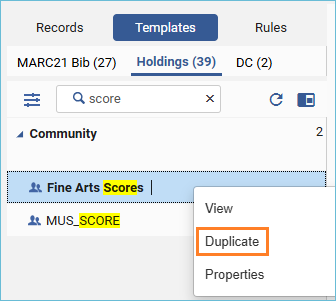
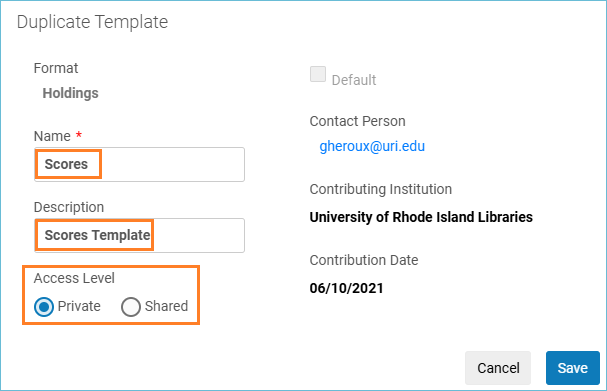
Click the template, then right-click and select Duplicate.
Give the template a name and description. You can save it to a private folder, so only you can use it, or you can save it to the shared folder so everyone in your institution can use it. Click Save.
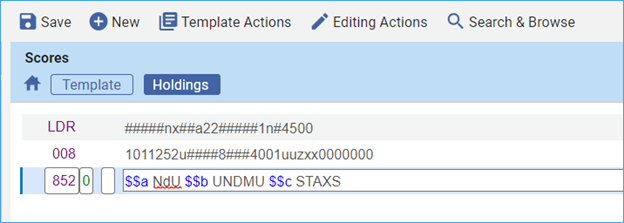
Now you can edit the template. Find the template in either the private or shared folder and click on it to open it in the metadata editor.
Edit the template so it contains the information that you want and save it.
You can now use the "Expand from Template" (Ctrl-E) option from the Editing Actions menu to enhance a bibliographic or holdings record with the template.

You can add this new template to the Metadata Editor (either the New menu for bibliographic templates, or the Add Inventory menu for holdings templates). Follow the instructions in the first part of these instructions to do this with the Templates Display Configuration.
Related Trainings: