Activating an Electronic Resource from the Community Zone in Alma
updated: 06/06/2025
Intermediate Topics in Resource Management
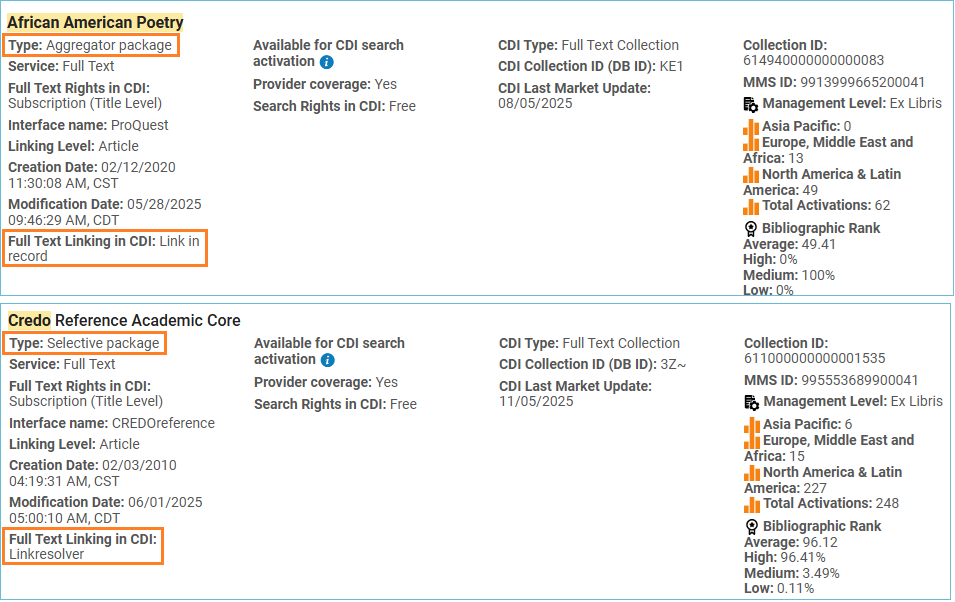
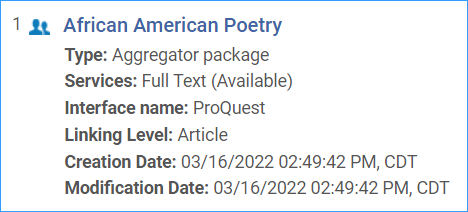
- Search the Community Zone for the correct electronic collection. Search by Electronic Collection, not All Titles.
Image
- Note the Type of electronic collection you are activating: Aggregator, Selective package, or Database
- Note the Full Text Linking in CDI in the electronic collection details: Link in record, Linkresolver, or Hybrid
Image
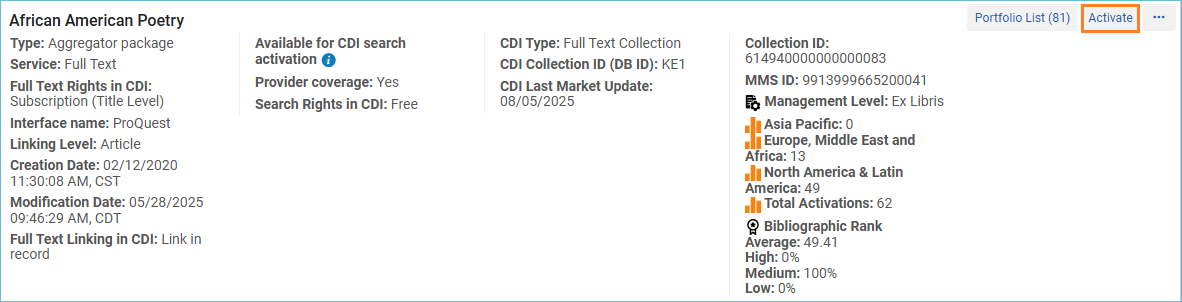
- Next to the record in the results list, click the Activate button
Image
- The Electronic Collection and Services Setup work form appears. Leave the settings in the top box, Local Electronic Collection Information, set to their defaults in most cases. The image below shows the settings for Aggregator and Selective packages:
Image
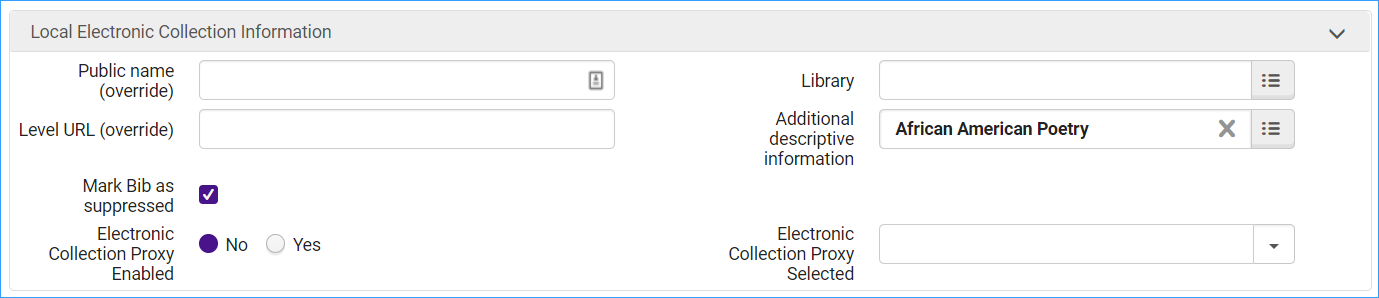
- Note: for Database type electronic collection, uncheck the Mark Bib as suppressed box and check Yes for Electronic Collection Proxy Enabled, and add your default proxy to the drop-down. The Image below shows the settings for Database type.
Image

- The next box down is for CDI information (note this box does not appear for some electronic collections).
- CDI Search activation Status: Active
- We subscribe to only some titles in this collection:
- Select YES:
- for selective package type, where you subscribe to only part of the content
- for Linkresolver link type collections
- Select NO:
- for an aggregator package type where you subscribe to all content
- for Link in Record type collections (these are typically non-selective subscriptions)
- for Hybrid type collections; all records in these collections will appear as full text available
- Select YES:
- Do not show as Full Text available in CDI even if active in Alma. This is left blank for electronic resources containing journal articles. If a library does not want eBooks and eBook chapters to appear in Primo VE from CDI, they can check this box.
Image

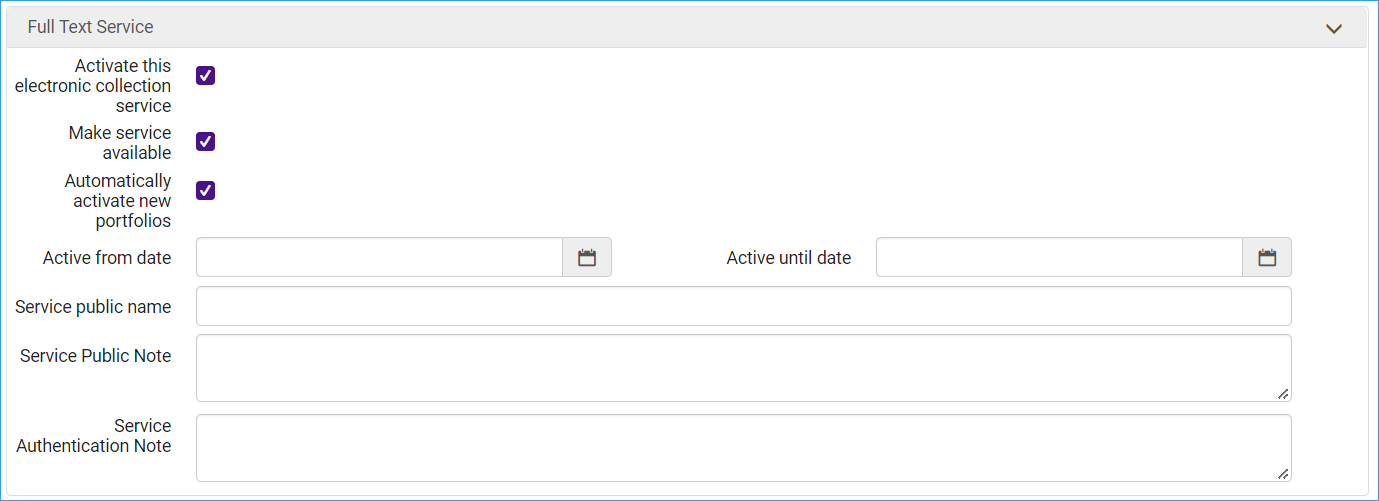
- The next box is Full Text Service.
- Click Activate this electronic service
- Click Make service available
- Automatically activate new portfolios – only select this if your library subscribes to an entire package
Image
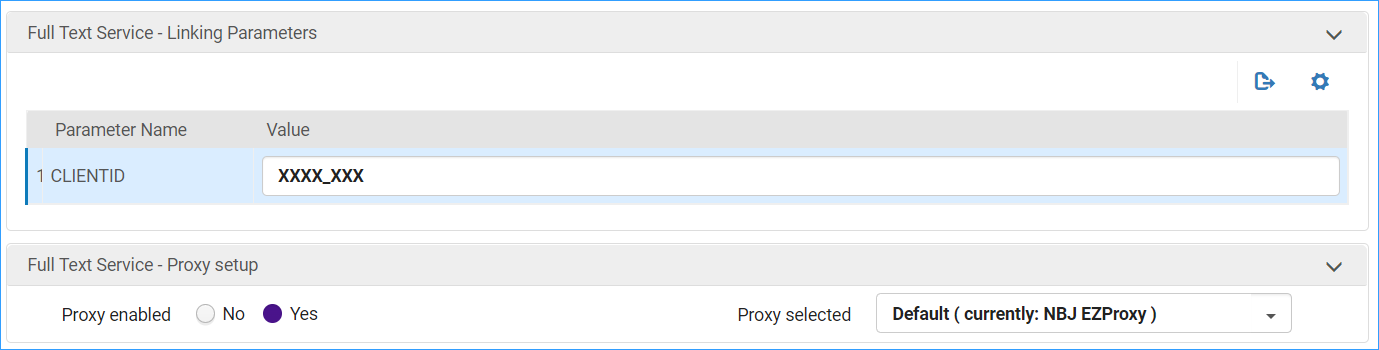
- Linking Information.
- This page is where you would enter any account information needed to authenticate access, like Client IDs for Proquest, or a Gale LOC-ID, etc.
- The next box down is Proxy set up. Click Yes and enter your default proxy.
Image
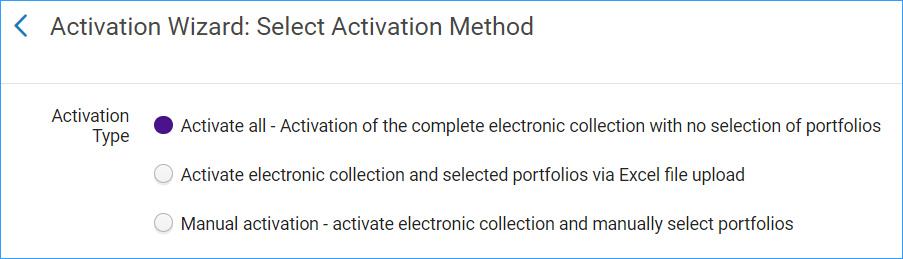
- The next page gives you the option to:
- Activate all portfolios – Select this if the electronic collection is an Aggregator type.
- Activate collection and selected portfolios via Excel file upload – This is an option if this is a Selective package type of electronic collection. For more about the spreadsheet method see this documentation.
- Manual activation – activates the electronic collection and manually selects portfolios – you will get the option to search the CZ and select portfolios to add to the collection
Image
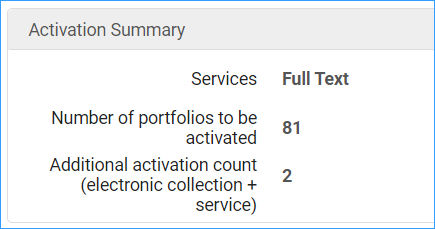
- The next screen shows an activation summary – number of portfolios, and the collection and service that will be activated
Image
- Click the Activate button
- After a few minutes (or longer for large collections) you will see the CZ icon turn blue in your IZ, and portfolios will be added into your Primo VE. Citations from CDI can take up to 72 hours to fully populate Primo VE.
Image
Related Trainings: