Loaning Items in Alma
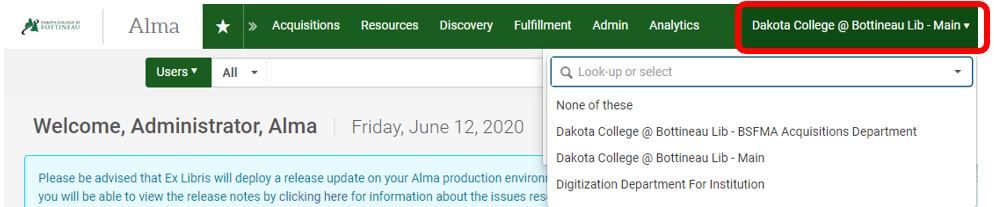
After logging into Alma, assure that you are ‘at’ your current Circulation Desk. To change locations, click the drop-down arrow next to your location to select another from the list.
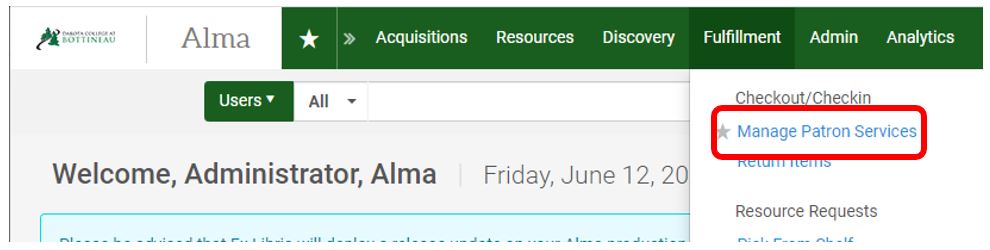
From the Fulfillment heading, select Manage Patron Services.
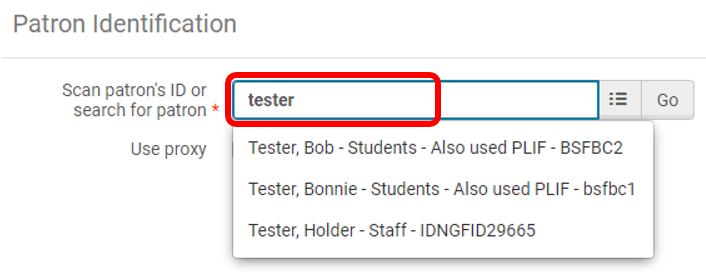
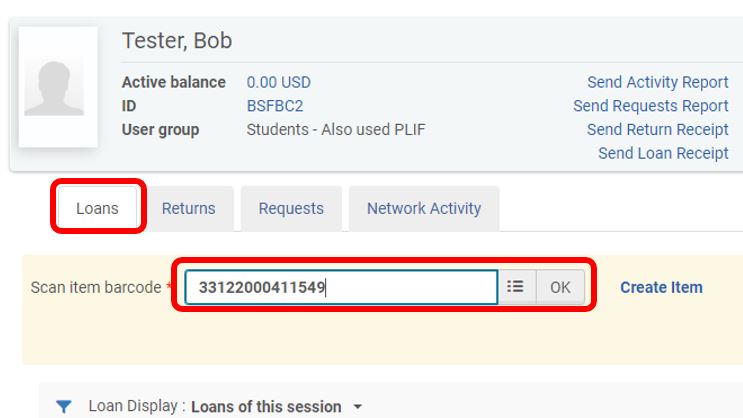
In the Patron Identification box that is displayed, scan the patron’s barcode, enter the patrons EMPL, or enter a portion of the patron’s name. The system will respond with auto-fill options – select the correct patron in this case to go to their record. Scanning the barcode or EMPL will take you directly to the record without a need to select from a drop-down menu.
The patron management screen is displayed. There are four tabs available – Loans, Returns, Requests and Network Activity. With the Loans tab highlighted, scan the item barcode into the barcode field.
The item is loaned, and the cursor is returned to the item barcode field where the next item to be checked out can be scanned. Note that you have the option to change the due date for the loans within the session.
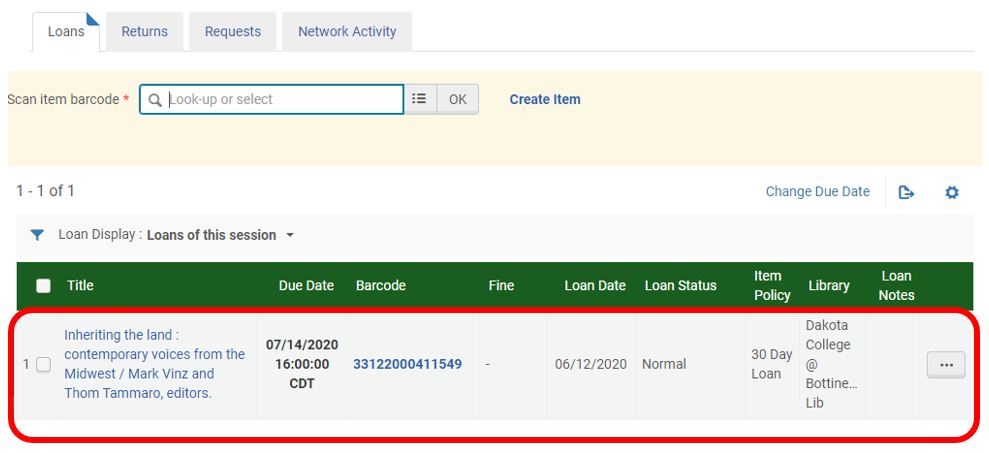
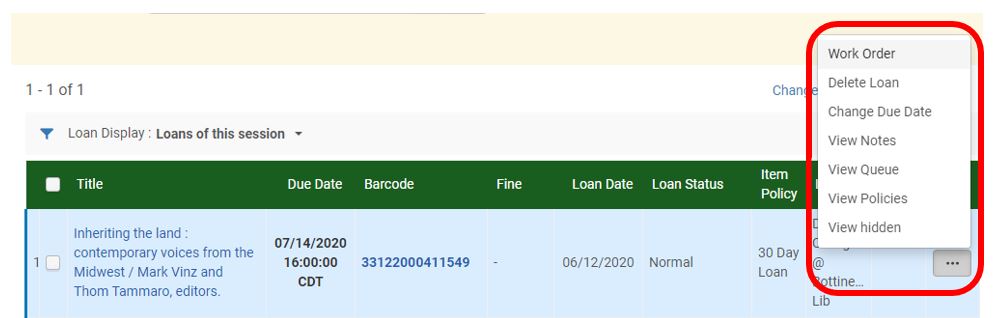
Note that you have the option to change the due date for the loans within the session. Check the box(es) next to the items to change, and click Change Due Date.
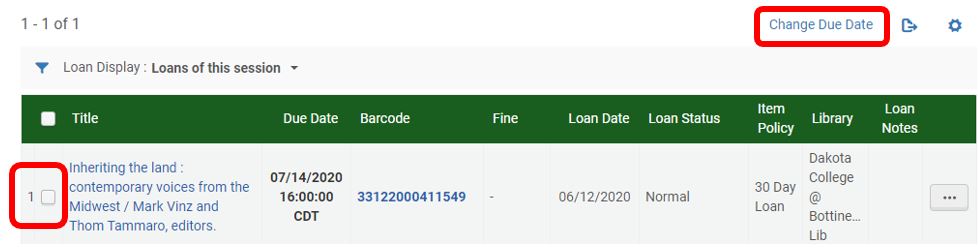
A pop-up box displays where you can use the pop-out calendar to change the date. Enter the new due date if necessary (military time is used) and click Change Due Date to make the change.

Additional actions can be taken on individual loans. Clicking the ellipse next to the loan displays a list of actions including deleting the loan and changing the due date.