Creating User Records in Alma
There are two types of user records in Alma – External and Internal. External records are managed (expiration dates, address updates, etc.) by an outside source such as ConnectND and are typically student, staff and faculty patrons. Internal records are managed solely within the library, and are typically community members, emeritus and special patrons.
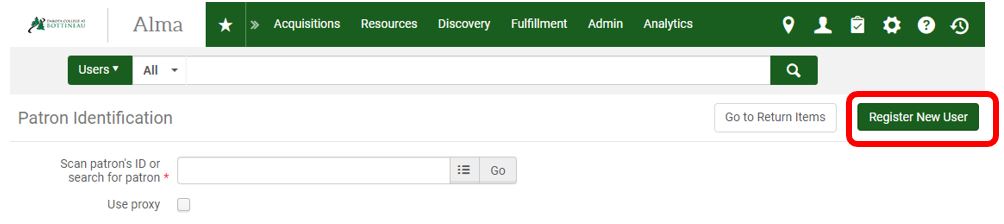
Before creating either type of record, assure that a record does not already exist for the patron. To search for user records, go to Fulfillment | Manage Patron Services. Search for the patron record by name or primary identifier (typically EMPL ID). If no records are found, click Register New User.
A workform is displayed.
1. User information. Enter user information as outlined below.
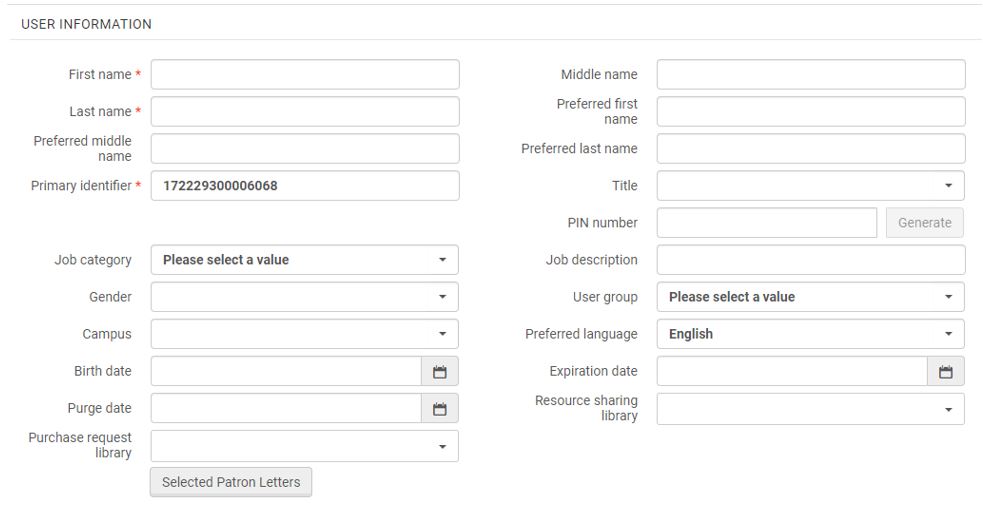
- First name (required): enter the patron’s first name
- Middle name: enter the patron’s middle name or initial if desired.
- Last name (required): enter the patron’s last name
- Preferred first/middle/last name: enter a preferred name for the patron if desired.
- Primary Identifier (required): If this is an External patron, enter the patron’s EMPL ID. Important! This must be the patron’s EMPL in order for the record to be synced with the student load coming from ConnectND. If this is an Internal patron, enter the patron’s barcode.
- Title: select the patron’s title from the dropdown list if desired.
- PIN number
- Job cateogory: Select the job category from the dropdown if registering a library staff member.
- Job description
- Gender: select gender from the dropdown menu if desired
- User group (required): select the user group from the dropdown menu.
- Campus: select the campus from the dropdown menu
- Preferred language: select the preferred language for notices from the dropdown
- Birth date: enter the patrons birthdate in mm/dd/yyyy format if desired
- Expiration date: user the pop-out calendar to select the record expirate date
- Purge date: use the pop-out calendar to select at which date the patron’s record should be purged
- Resource sharing library: select the appropriate library from the dropdown menu
- Purchase request library: select the appropriate library from the dropdown menu
- Selected Patron Letters: click this box to select/modify which types of letters the patron should receive (overdue notices, courtesy letters, etc.)
2. User Management Information. If the patron is External, be sure to click the YES button next to Patron has institutional record.

- Force password change on next login: Check if appropriate
- Owning system: Select either SIS Student or SIS faculty/staff depending on the type of patron record being added.
If the patron is Internal, be sure to click the NO button next to Patron has institutional record.
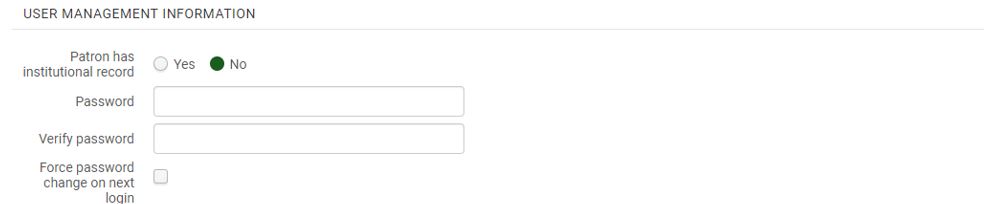
- Password: enter a patron password. This is only necessary if patron is allowed to login to Primo.
- Verify password: enter the same password entered in previous field. This is only necessary if patron is allowed to login to Primo.
- Force password change on next login: Check if appropriate
3. Email Addresses / Address / Phone Numbers. Select the email, address or phone type and enter the corresponding data in the fields provided.
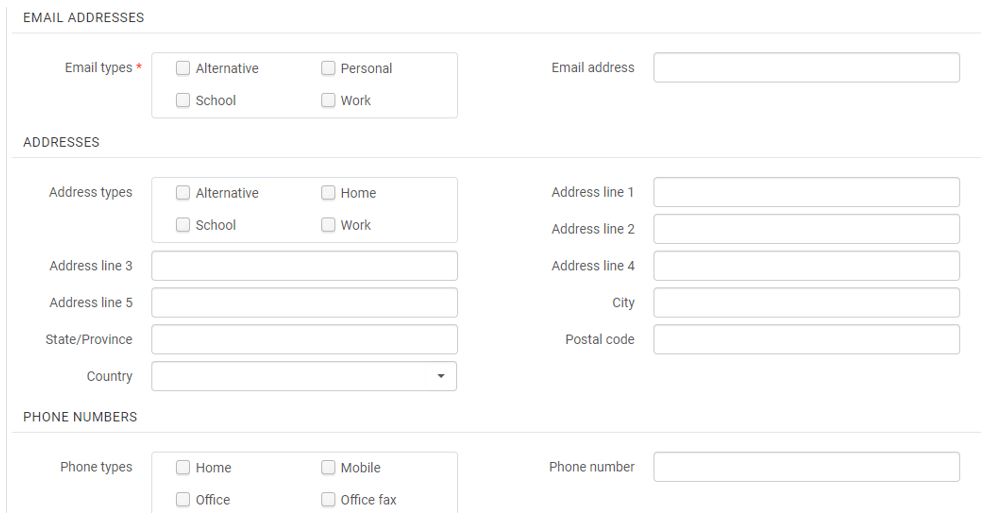
4. Click Update User in upper right to save the record.
