Offline Circulation in Polaris Leap
Updated 3/16/2026
Overview
- Installing Polaris Leap Offline
- Setting up your Offline session
- Using Offline Check Out
- Using Offline Check In
- Uploading Offline Transactions
- Related ODIN Training
Polaris Leap Offline allows you to log transactions and circulate materials while Polaris is down or during times an internet connection is unavailable.
Important notes:
- Offline Circulation should work with any internet browser; however, Chrome is recommended.
- Downloading Leap Offline requires an internet connection, so initial installation is required before use. Once installed, bookmark Polaris Offline to access when internet is unavailable.
- Offline transactions are stored in the browser’s local storage until the user sends them to the server for processing or deletes them. Do not clear your browser’s cache before your files have been sent to the server, your transaction information will be lost.
- Your Polaris Offline installation is specific to your username and browser combination. To ensure your transaction data uploads properly once internet is restored, you must log in to Leap using the same login credentials and browser as your Polaris Offline installation.
Installing Polaris Leap Offline
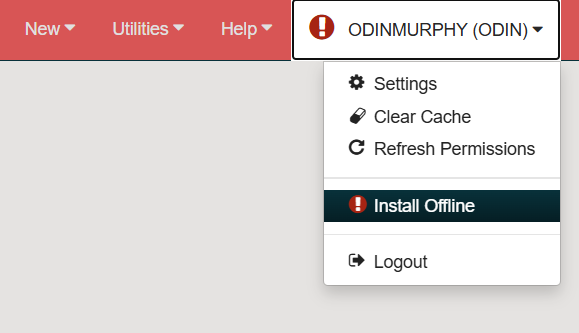
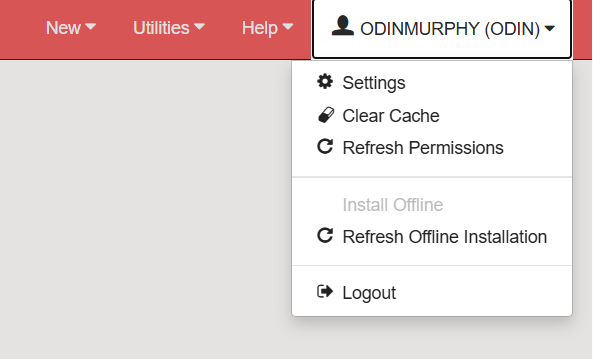
Log in to Leap. Click on your username in the upper right-hand corner of the screen and select Install Offline from the drop-down menu:
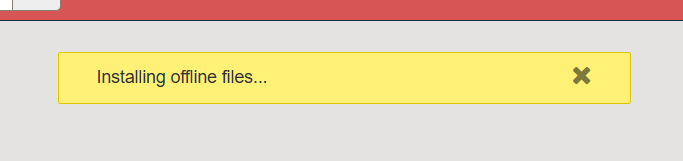
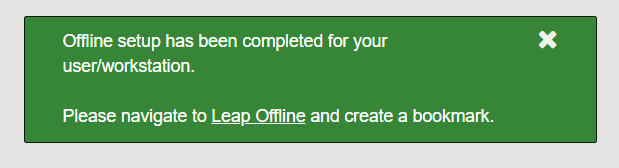
Once setup is complete, you will be prompted to navigate to Leap Offline:
Setting up your Offline session
Upon opening Polaris Offline, you will see a Warning! message:

Your offline transaction data is stored in your browser’s cache. Do not clear your cache until AFTER internet connection has been restored and all of your transactions have been sent to the server. Clear the warning to continue.
You will see your Workstation, Username, and Organization listed across the top of the screen along with your overall Transaction count in the upper right corner:

Before you begin logging transactions, click on Settings to confirm your setup:
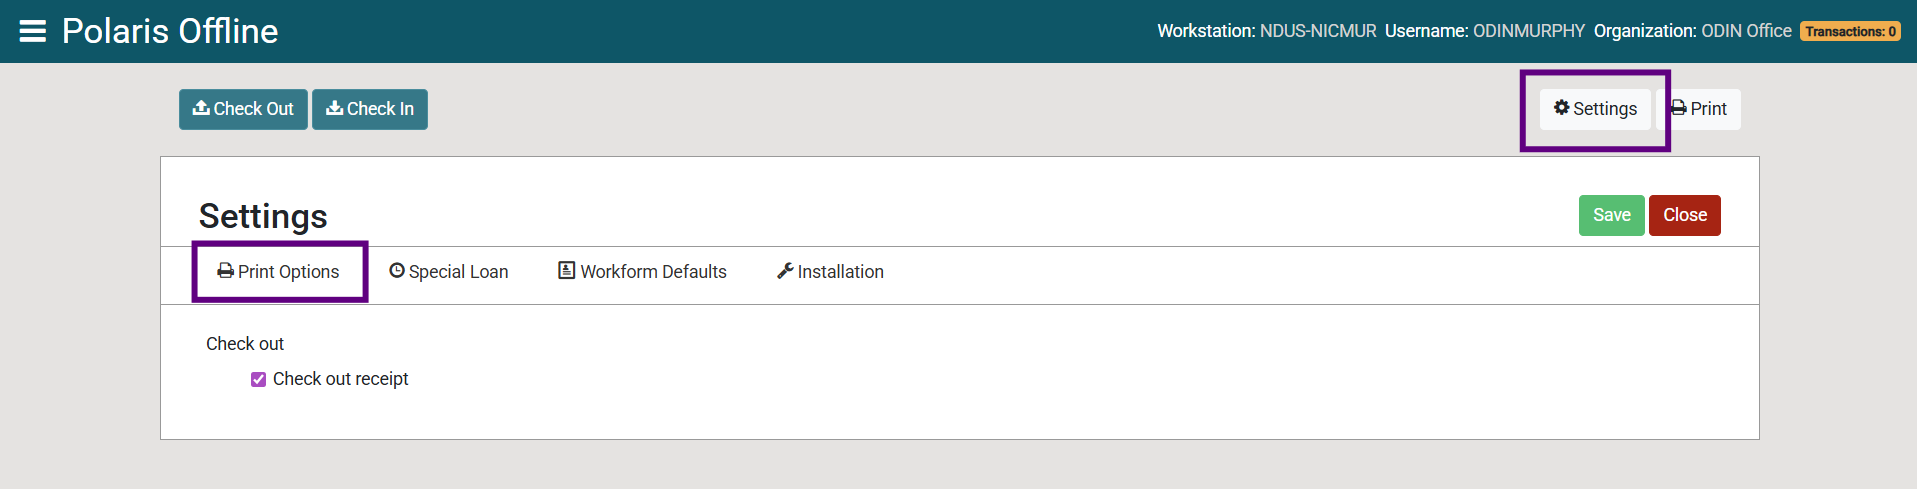
The Print Options tab allows you to enable or disable check out receipts.
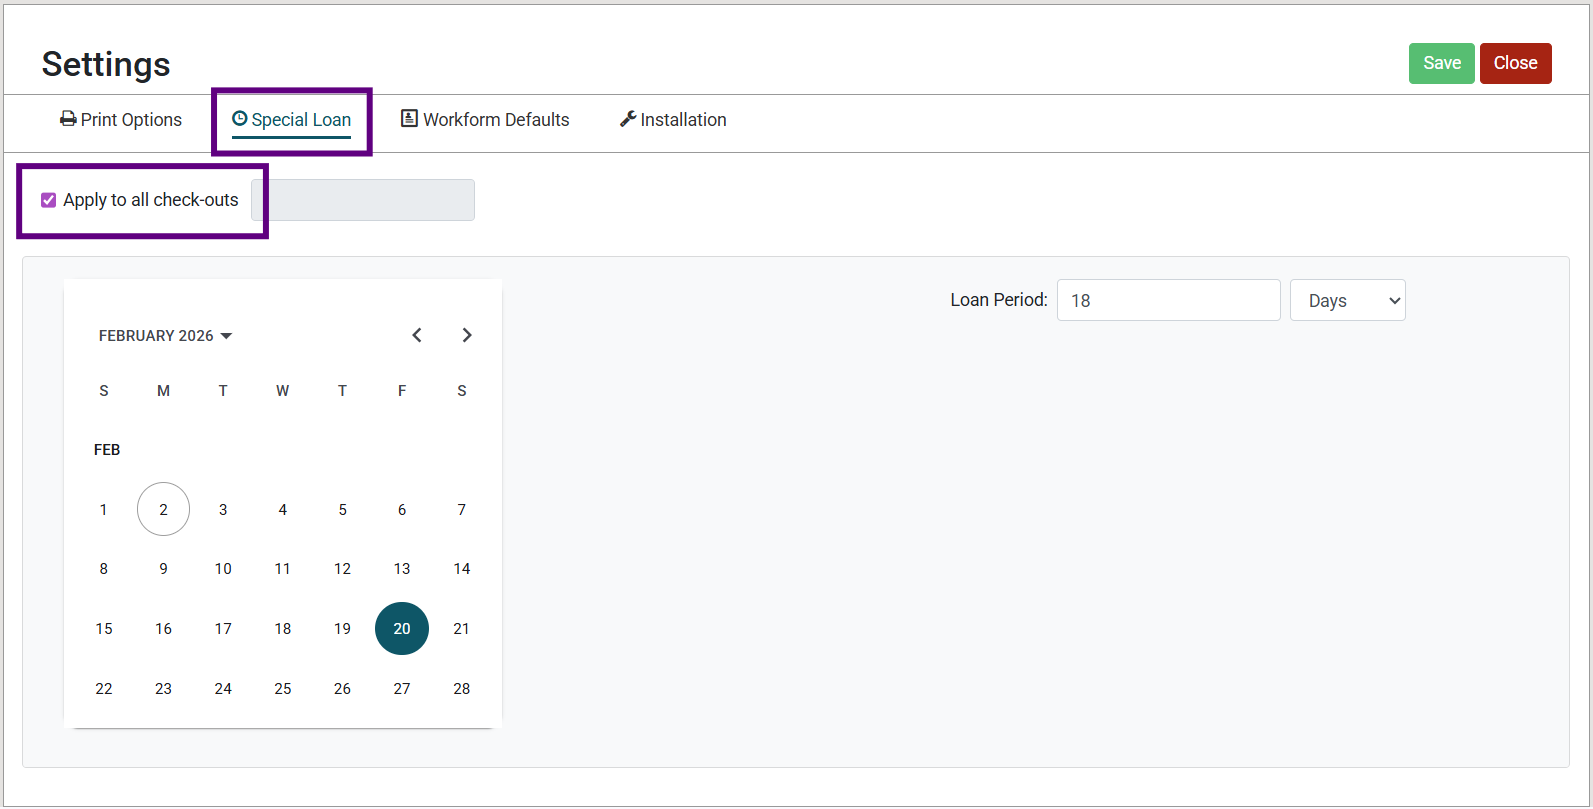
The Special Loan tab allows you to set a due date different than your system default. To set a new due date, click the Apply to all check-outs checkbox and choose your desired date in the calendar OR enter a specific Loan period:
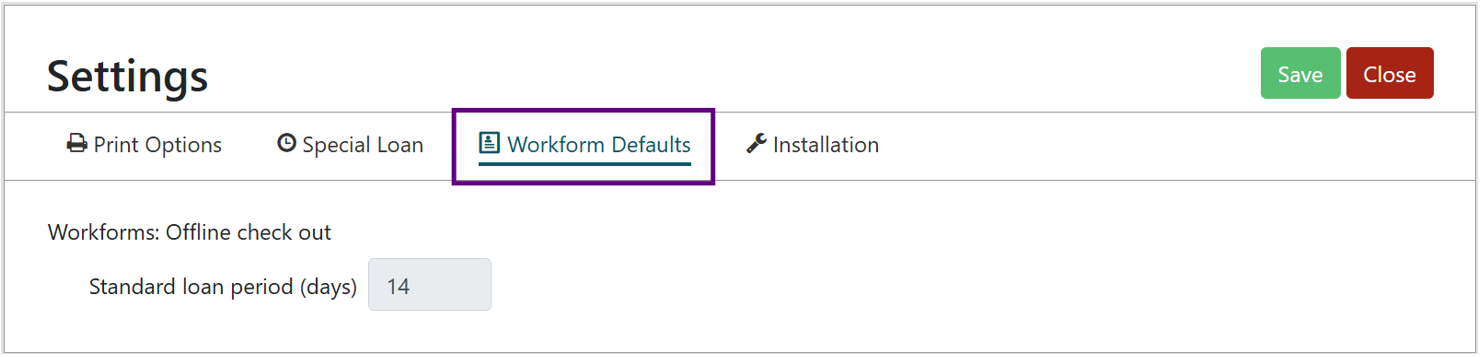
The Workform Defaults tab indicates the standard loan period that will be applied to check-outs if a Special Loan date is not specified:
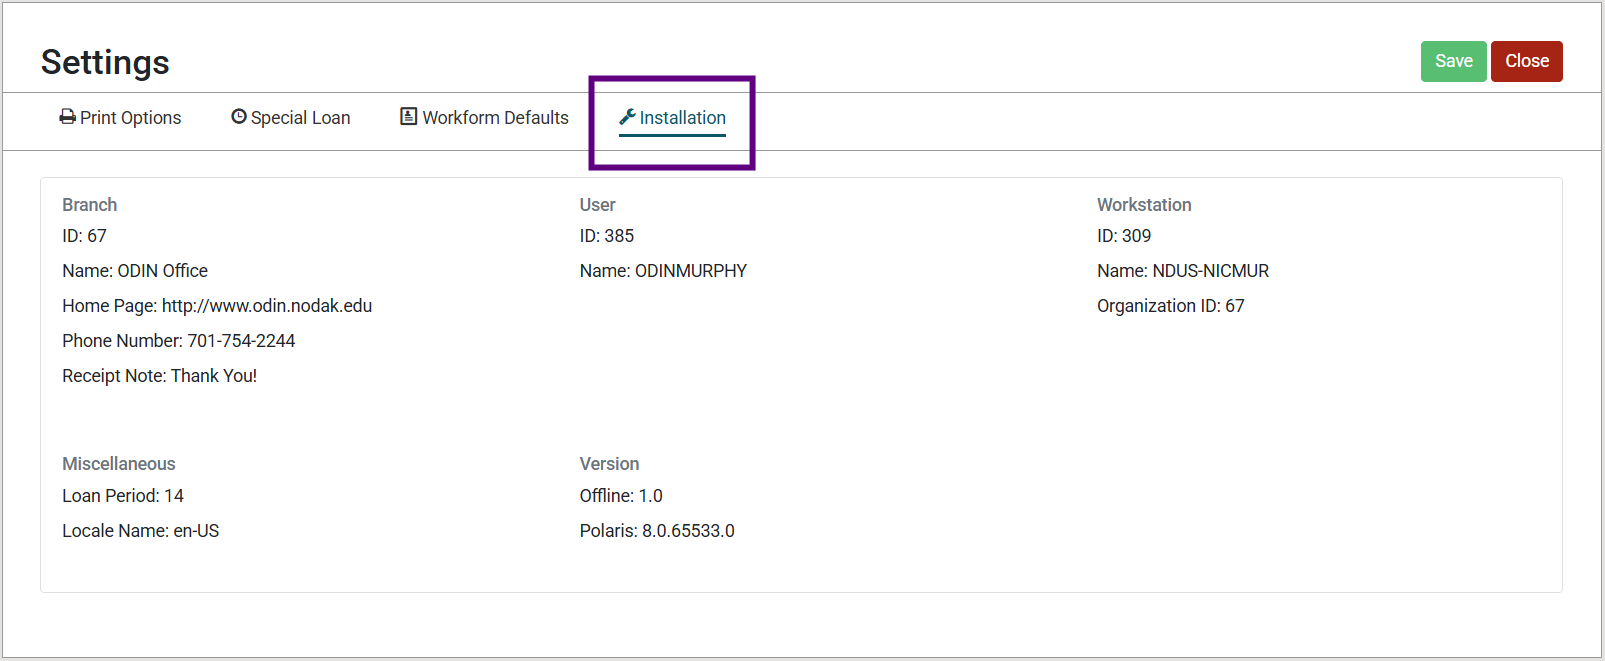
The Installation tab lists additional information related to your current session:
If you have made changes under any of the tabs, click Save in the upper right-hand corner.
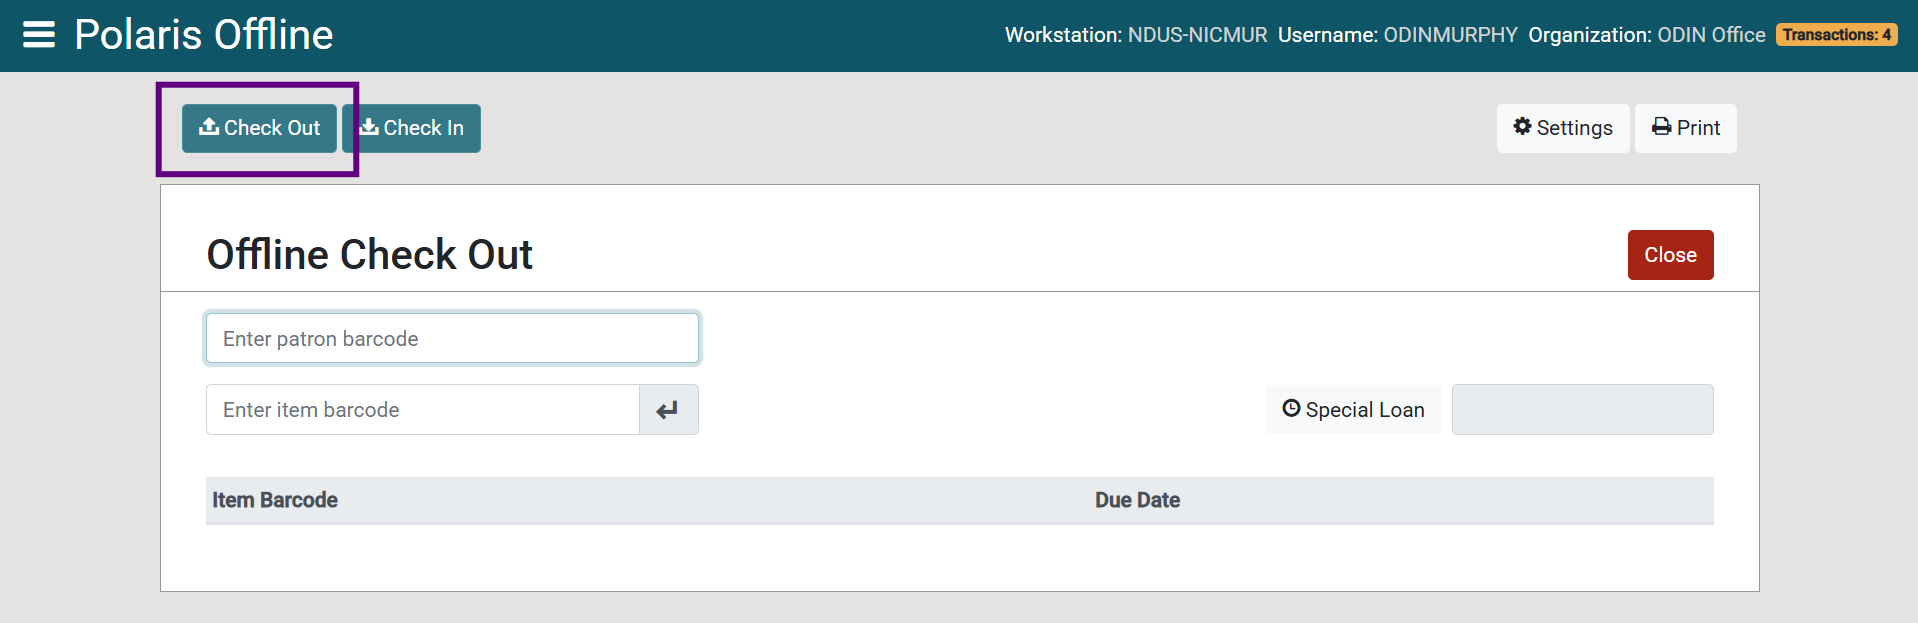
Using Offline Check Out
Navigate to the Check Out screen. Enter your patron's barcode and the barcodes of all items ready for check out to their account:
Important Note:
Double-check patron and item barcodes as you go to ensure they are correct. Since Leap Offline doesn’t utilize the internet, it will not register an error until the transactions are uploaded to the server later.
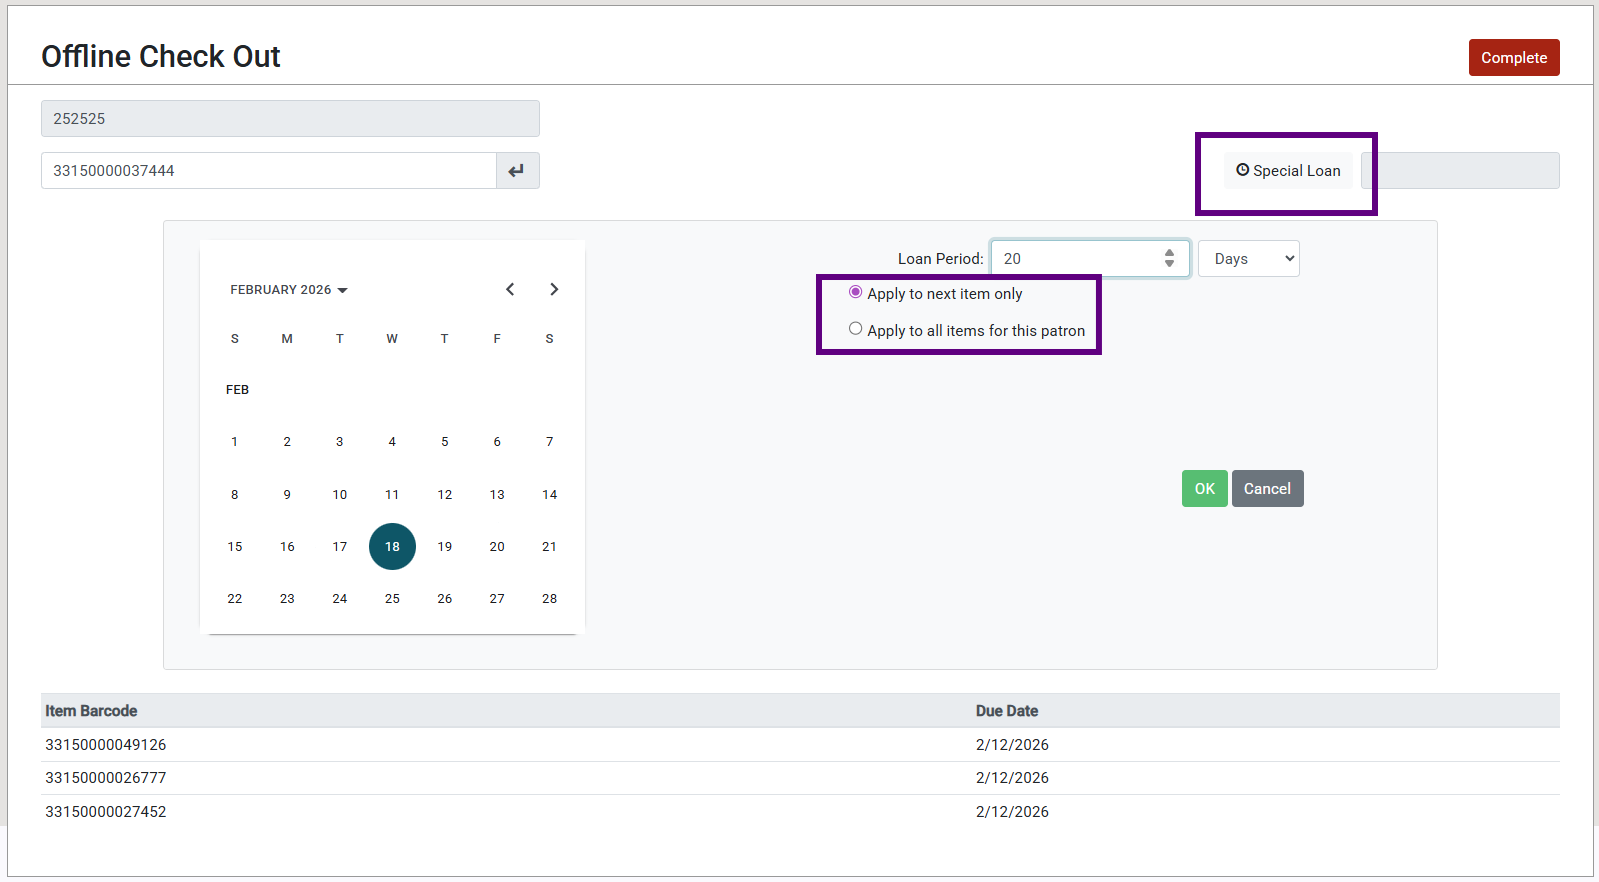
You may use the Special Loan button to apply a custom due date to 1 or all of the items for that patron:
When you are finished checking out all materials to the patron, click Complete:
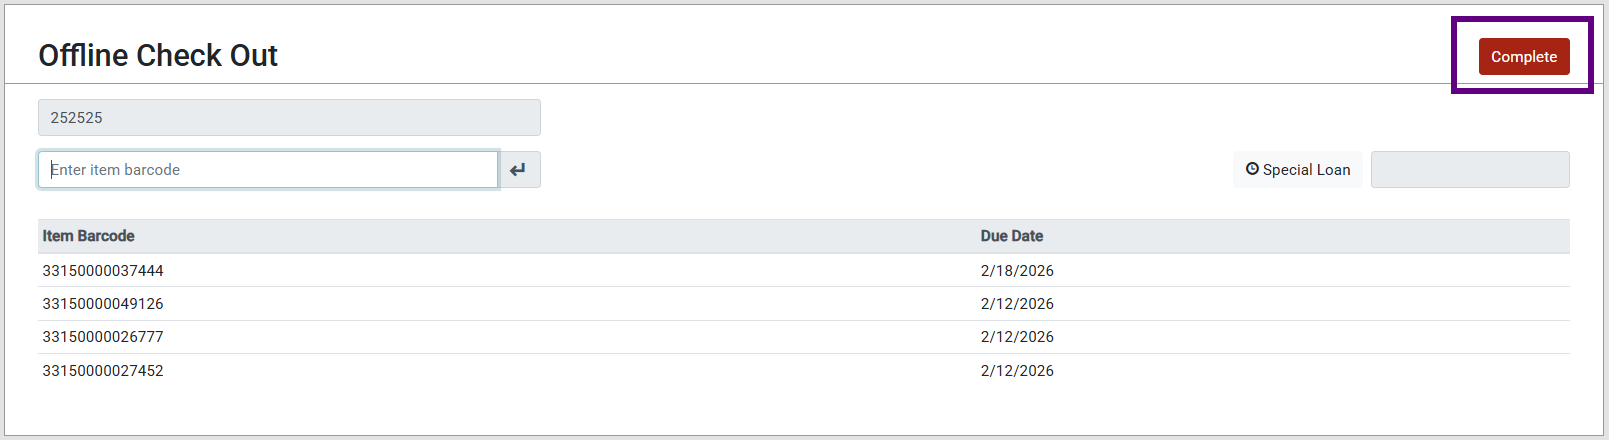
This will trigger a check-out receipt to print (if they are enabled) and clear the screen to prepare it for the next transaction.
The gold Transactions badge in the upper right-hand corner will continue to count your overall transactions during the session. Click on it to view the offline files you have generated:

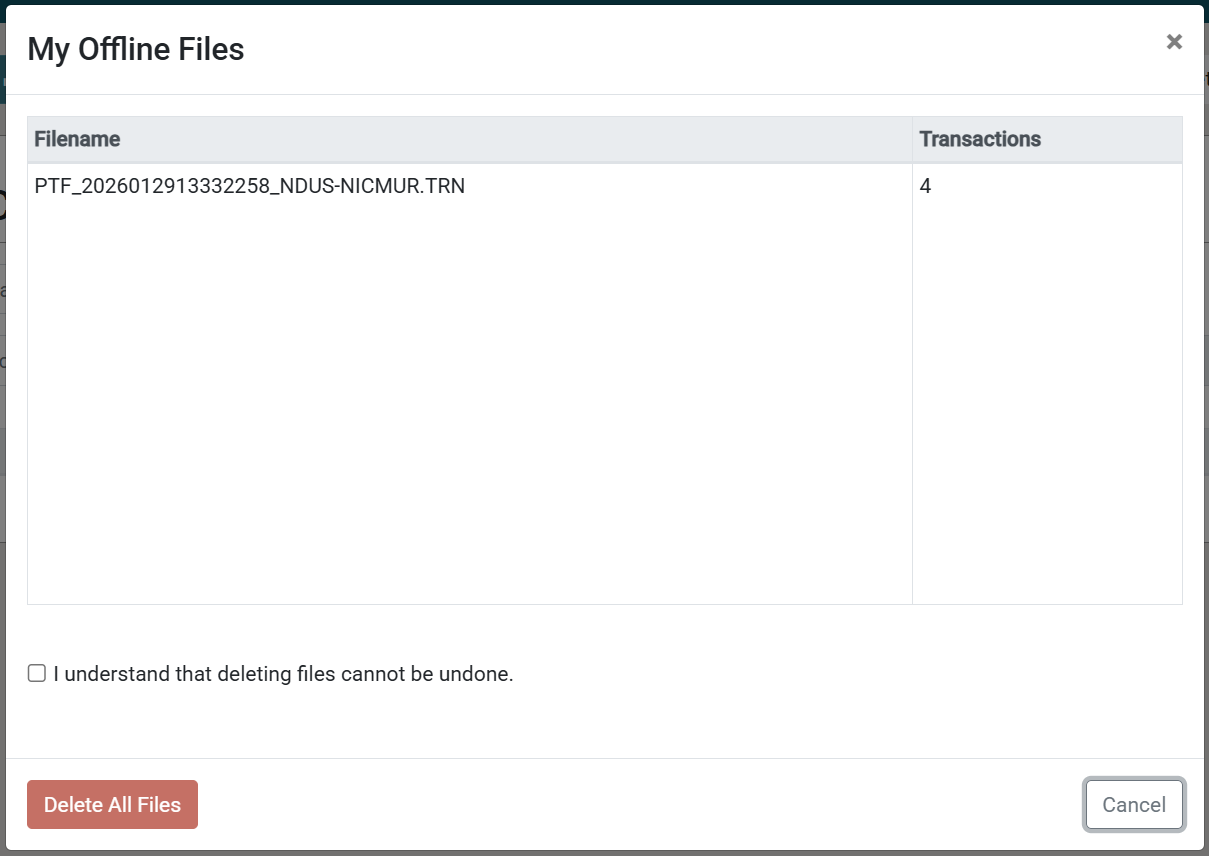
From this screen, you also have the option to delete the files. This cannot be undone and is not recommended unless you need to clear errors.
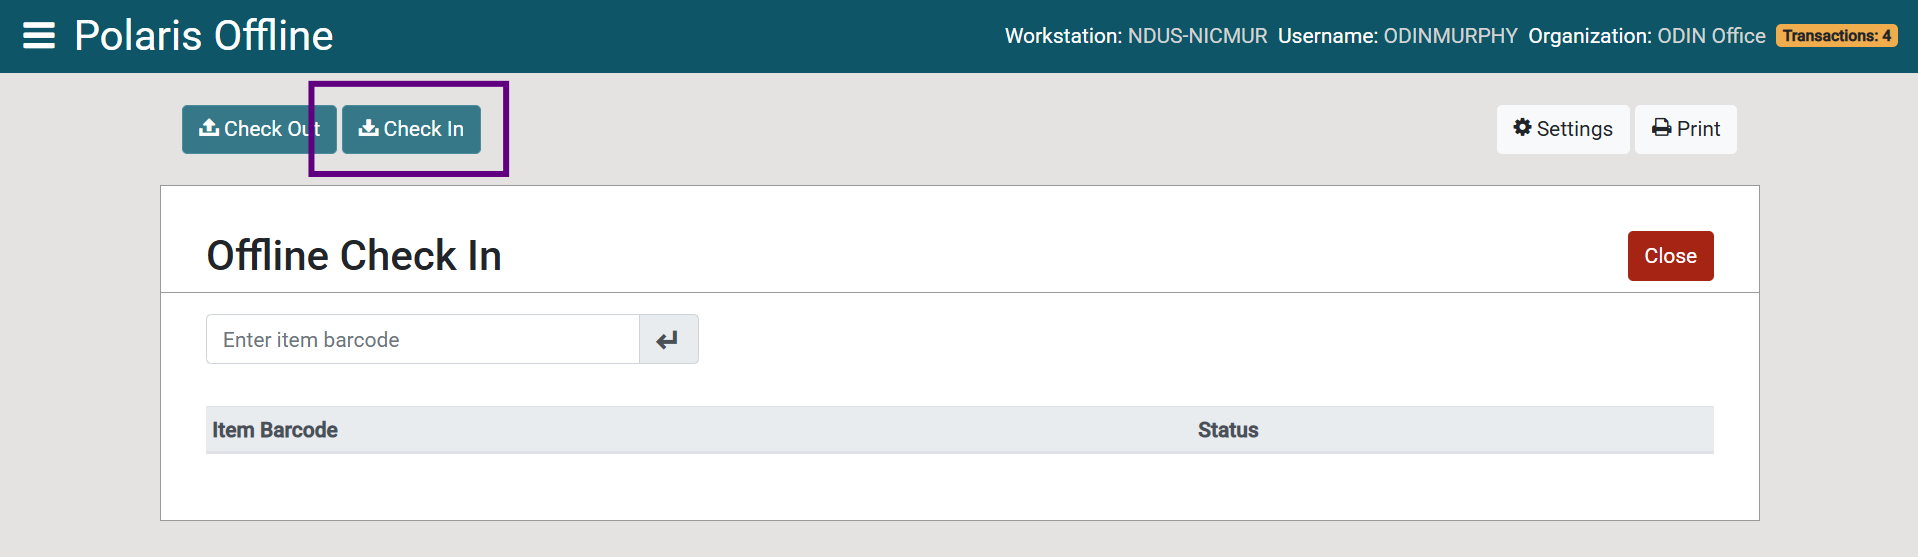
Using Offline Check In
Navigate to the Check In screen and enter the barcodes of all items ready for check in:
When you have finished entering the barcodes of all items, click Complete:
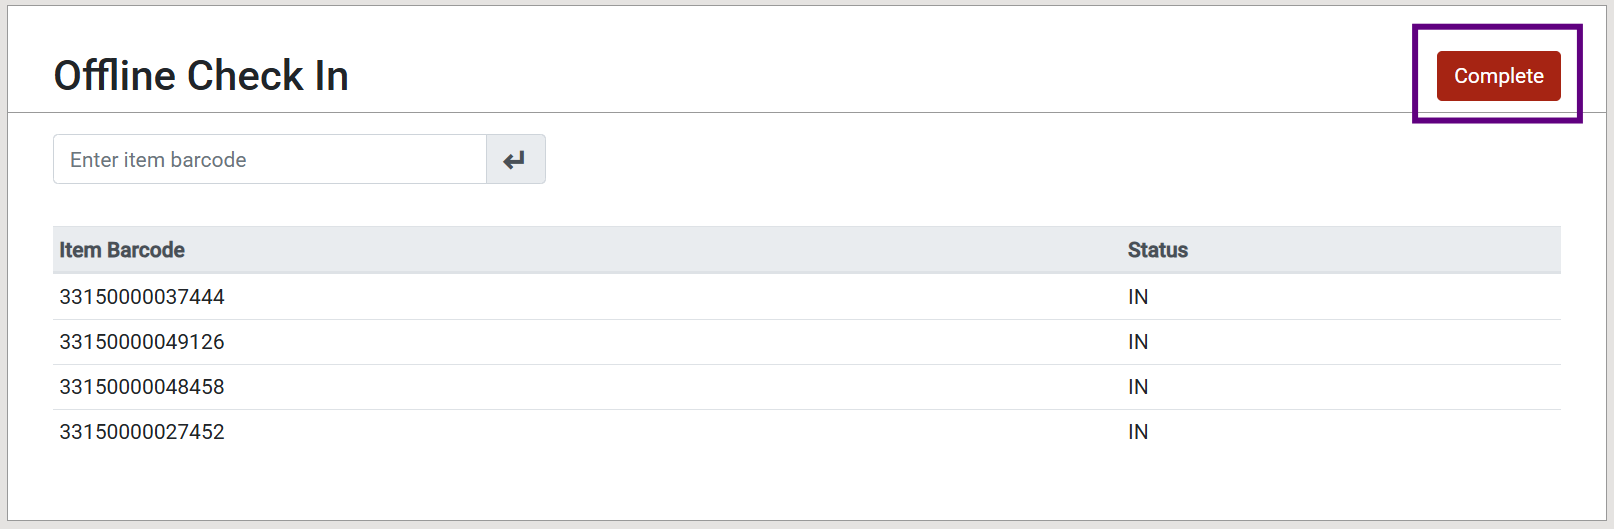
The gold Transactions badge in the upper right-hand corner will update each time new transactions are logged.
Uploading Offline Transactions
Once Polaris or your internet connection has been restored, log in to Leap. If you have unprocessed offline transactions, you will receive the following message, and your username will have an exclamation point next to it:

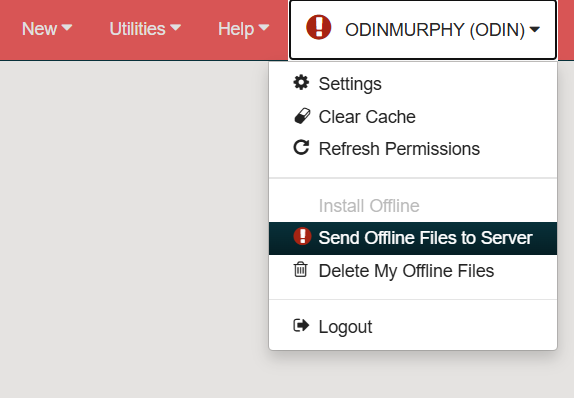
Click on your username and select Send Offline Files to Server:
If the action was successful, you should see the following message:

Important Note:
- Be careful not to choose the Delete My Offline Files option. It will delete all unprocessed offline transactions from the browser. This cannot be undone.
Once your offline files have been uploaded, they will be automatically cleared from Leap:
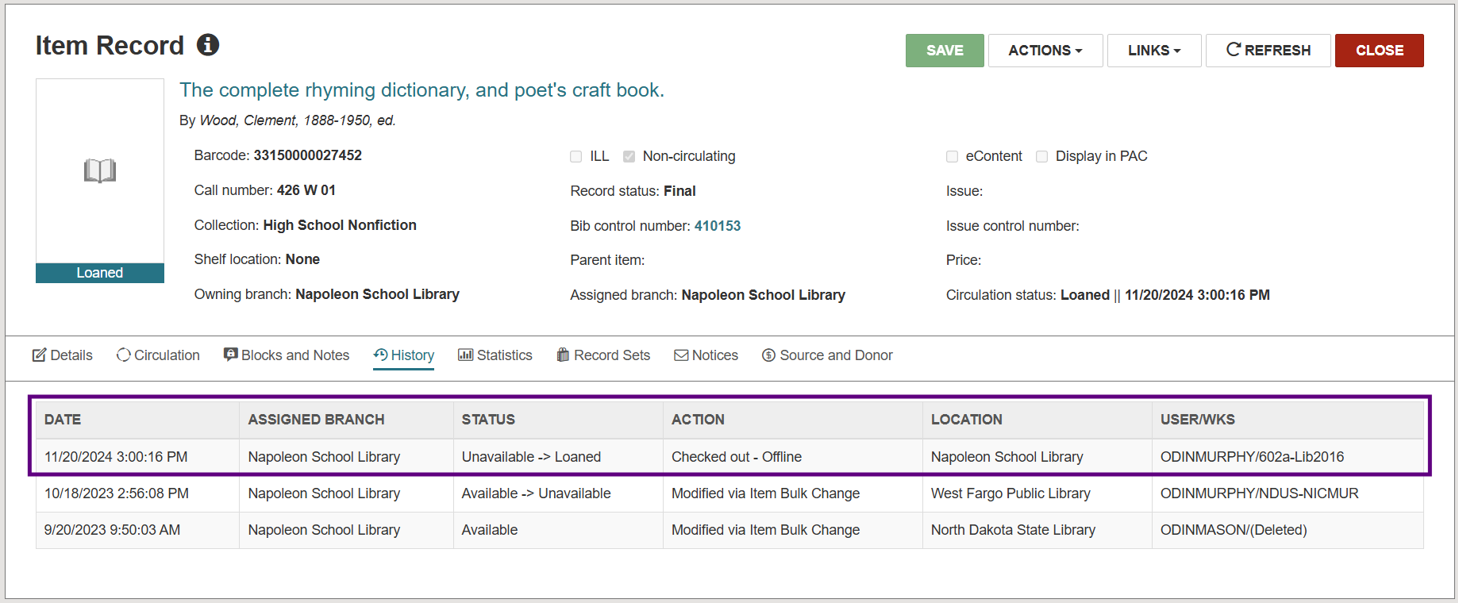
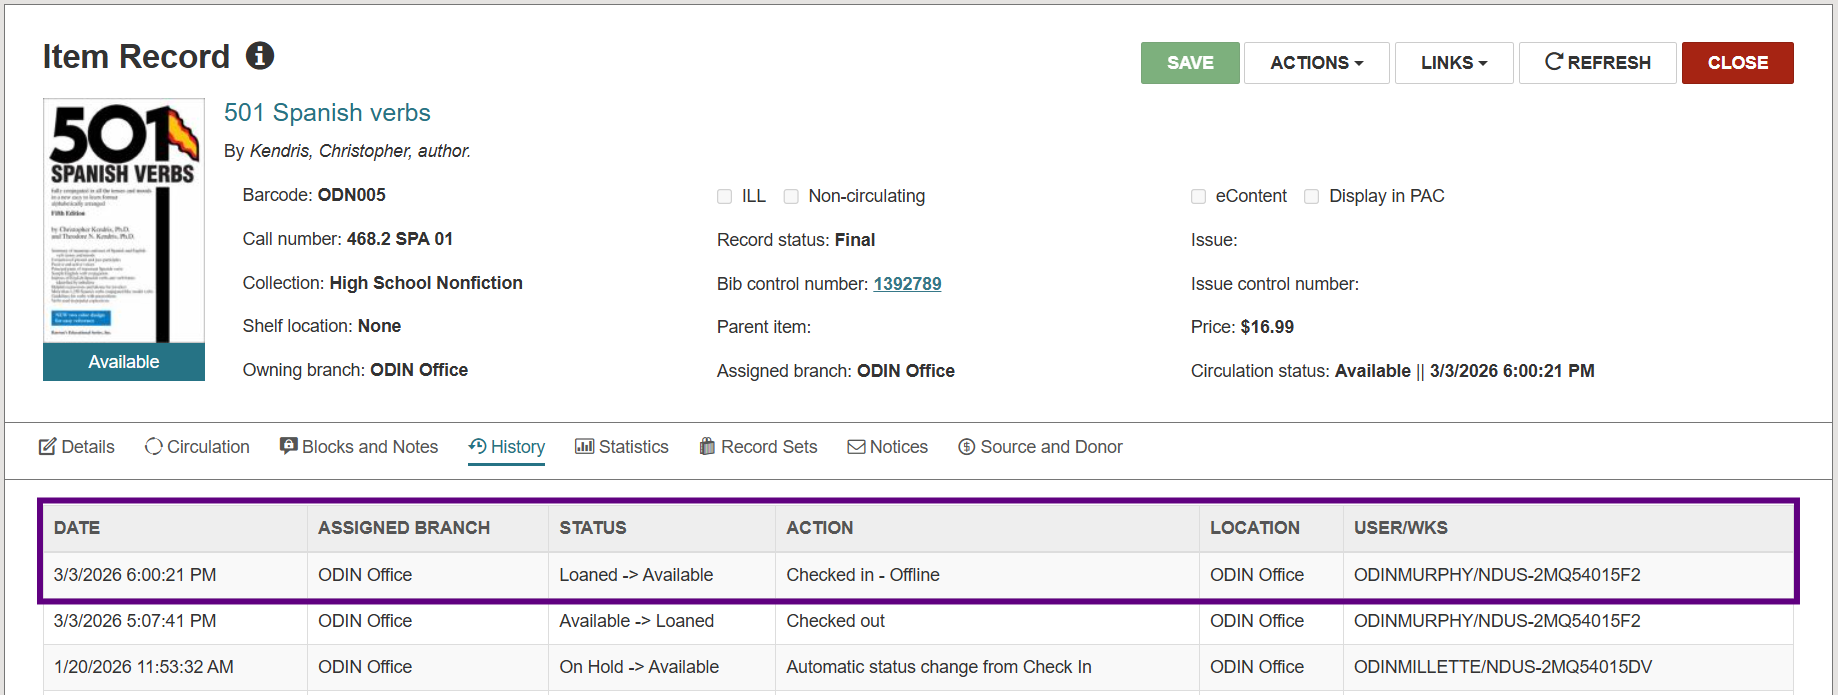
Items checked out or in via Leap Offline will show a History Action of Checked out – Offline or Checked in - Offline in the item record: