Adding New Funds in Polaris Acquisitions
Setting up Fund records in Polaris. Fund records are connected to Fiscal Years. Staff may set up an unlimited number of funds. It’s important to figure out the fund structure before adding funds, and more importantly before adding money to funds.
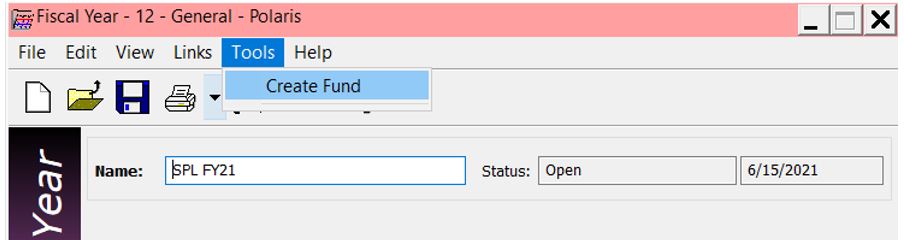
1. To create a new Fund record, from the Fiscal Year record click on Tools | Create Fund.
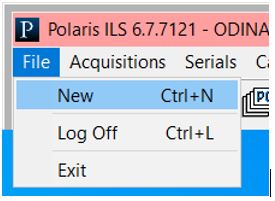
Alternatively, from the toolbar click on File | New, click on the new icon or use the hot-key Ctrl+N.
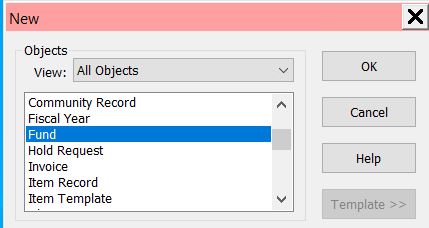
Select Fund from the list.
2. Fill out the Fun record workform as appropriate. To save the fund, on the menu bar go to File | Save, use the hotekey of Ctrl+S or click the save icon.
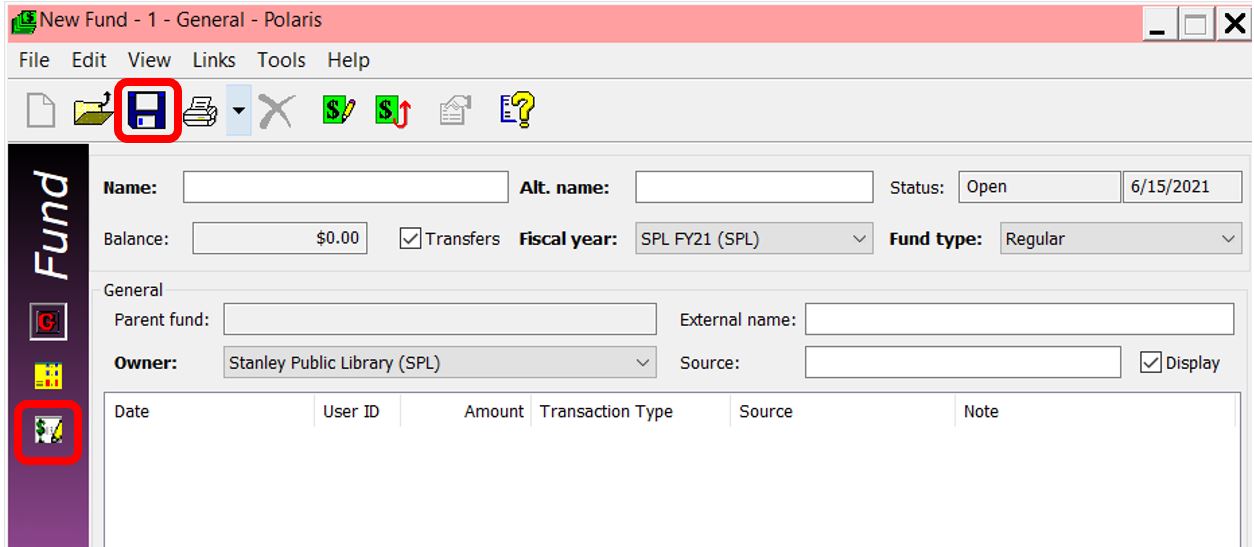
- Name (required) – Name the fund record
- Alt name (required) – The alternate name can be a short form of the working name, an abbreviation, popular name, etc.
- Status – Values are entered by the system
- Balance – Value is added by the system once monies are added or expended
- Transfers – Check this box if transfer of money from this fund or to other funds is allowed.
- Fiscal year (required) – If fund is created from the fiscal year, this field is defaulted to that fiscal year. Otherwise, select the appropriate fiscal year to associate the fund with.
- Fund type (required) – Select if this is a regular fund, deposit account or donation fund. *Note: if this is a donation fund, you must also enter donor information found by going to View | Donor from the menu bar, or selecting the Donor icon on the left.
- Parent fund – Values are added by the system if the fund is a ‘child’ of another fund.
- External Name – the name by which the organization (source) refers to this fund.
- Owner - If fund is created from the fiscal year, this field is defaulted to the same owner of the fiscal year. Otherwise, select the appropriate owner/library to associate the fund with.
- Source – the name of the organization that supplies the money for this fund.
- Display – controls if the fund is displayed in the list of funds in selection list line items, purchase order line items, or invoice line items.
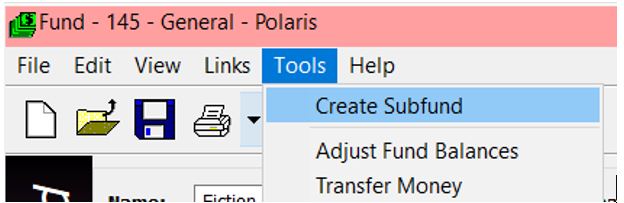
3. Depending on the fund structure you are using, you can go on to create subfunds. If you are not using subfunds, skip to the next step of allocating money to funds.
To create a sub-fund, with the fund record on the screen, on the menu bar select Tools | Create Subfund.
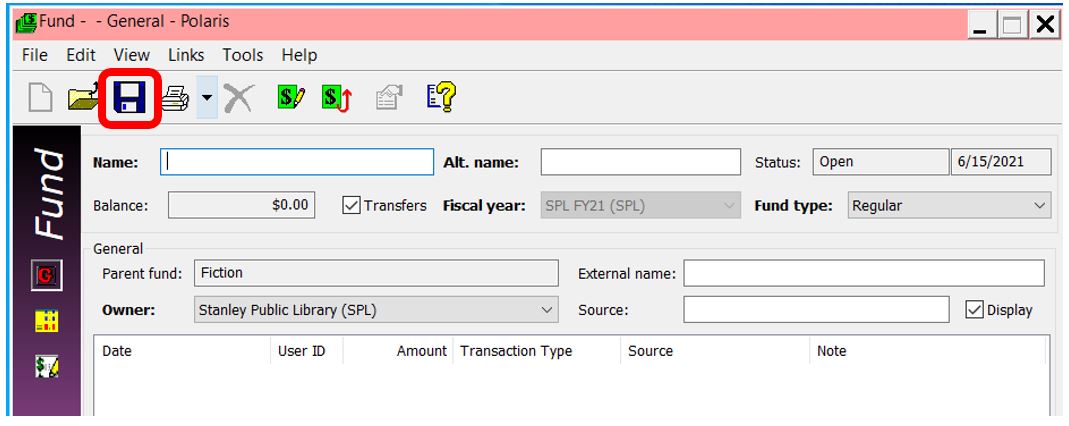
You receive a workform that is almost identical to the Fund workform. The key differences are you’ll note the Parent fund field is automatically filled in with the fund name, and you do not have the option to alter the Fiscal year (it matches the same fiscal year as the fund). Fill out the workform as per the instructions in the Fund section above, and save the subfund record.
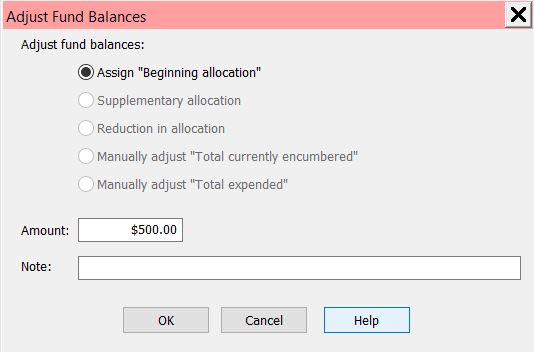
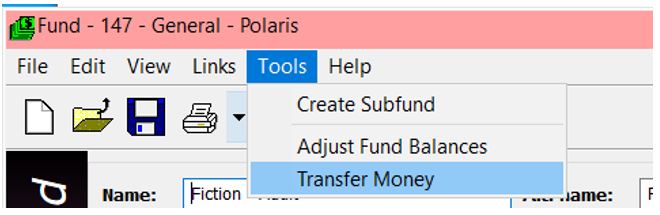
4. Allocating money to funds. To allocate money to funds or subfunds, with the (sub)fund record displays, go to the menu bar are select Tools | Adjust Fund Balances, or click the Adjust Fund Balances icon.
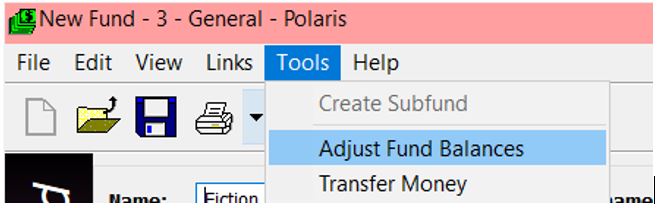
If it is the first time money has been allocated to the fund, the only option available is to Assign Beginning allocation. If money has previously been allocated to the fund, there are additional options – most notable is to create a supplementary allocation. Enter the dollar amount and click OK to save.
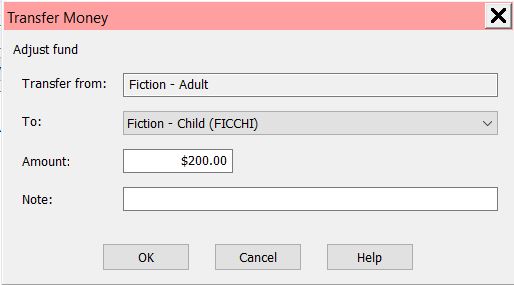
5. Money can be transferred between two (sub)funds. To do so, from the (sub)fund record you wish to transfer money from, go to the tool bar and select Tools |Transfer Money or click the Transfer Money icon.
In the workform presented, the Transfer from field will be automatically set to the fund you are transferring from. Select the fund you wish to transfer to, and enter the amount to be transferred. Click OK to complete the transaction. NOTE: it is important that the fund you are transferring to not be open, thus locking the fund and not allowing the transfer to be completed.
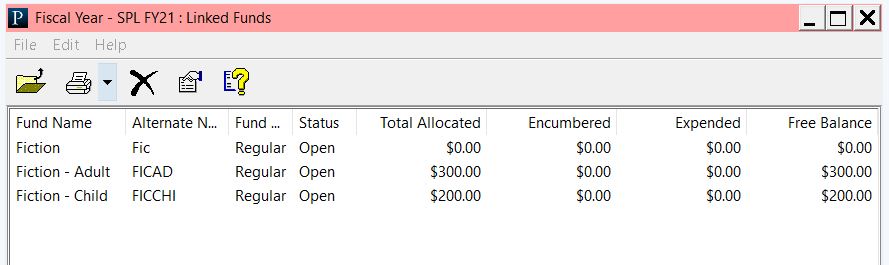
6. A list of funds associated with a Fiscal Year can be seen by going to the Fiscal Year, and on the menu bar selecting Links } Funds.
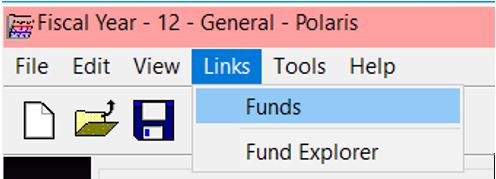
All funds associated with that fiscal year are displayed.
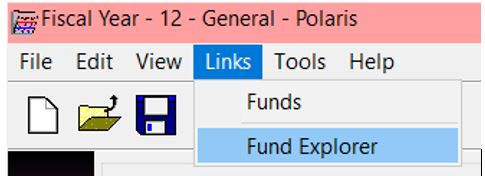
To see your hierarchy of Funds, go to the Fiscal Year, and on the toolbar select Links | Fund Explorer.
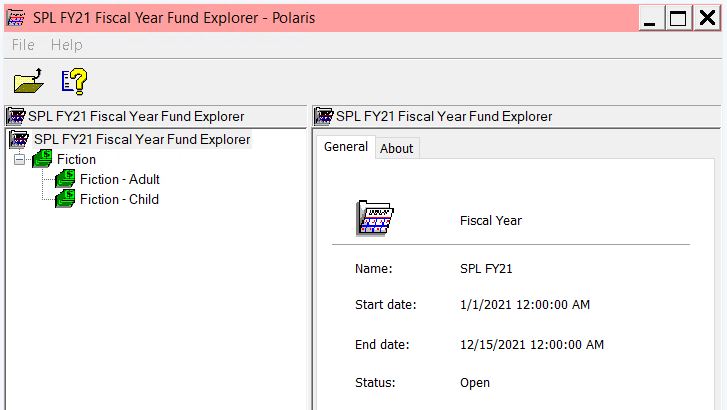
The funds associated with the fiscal year are displayed, and relations (parent/child) between funds are indicated.
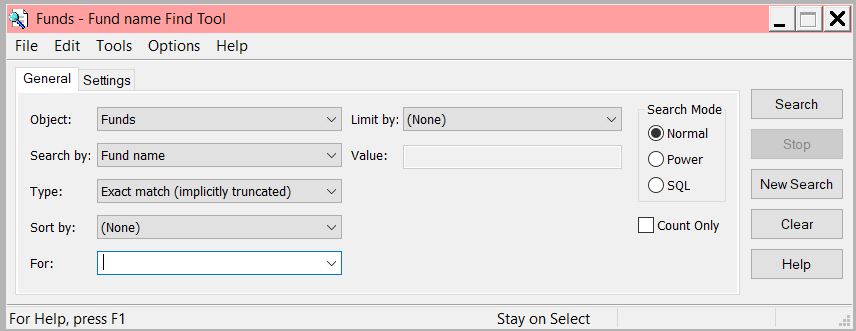
7. Funds can be searched for within the client. On the menu bar, select Acquisitions | Funds | Find Finds or click the Find Funds icon.
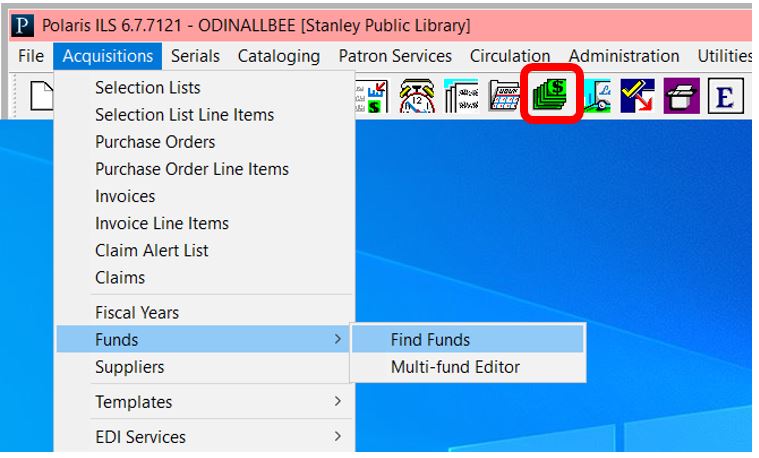
You are presented with a search box to locate existing funds.