How to Use the IPEDS Dashboard
(updated 07/01/2025)
Each year, the ODIN office will email reports for the electronic resources your Institution receives from the Network Zone. You will add the counts from these Network Zone reports to the counts you retrieve from the IPEDS dashboard for your Institution Zone.
How to use the IPEDS Dashboard
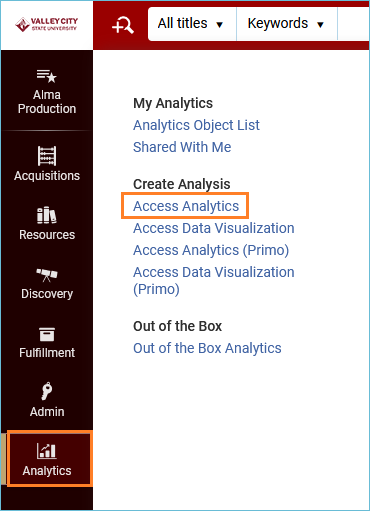
Sign in to Alma and click on the Analytics menu.
Select the Access Analytics link.
Analytics opens in a new tab in your web browser. Click on the Catalog menu at the top of the screen:

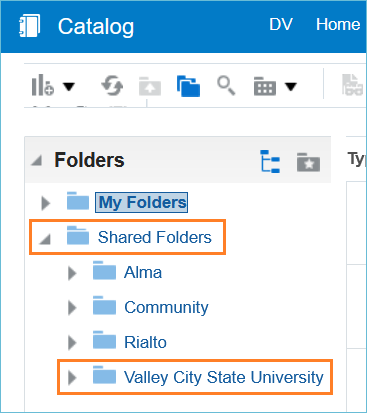
In the left pane, navigate to the Institution folder. To do this, click the triangle next to Shared Folders to open the file structure. When you find your Institution, click that folder to open it.
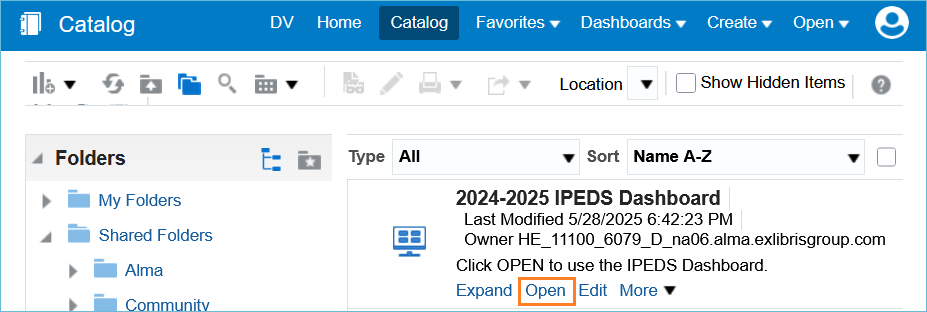
In the right pane, you will see files and reports that are in the Institution folder. Near the top, you should see the IPEDS Dashboard. Click Open to use the IPEDS Dashboard.
Once open, the IPEDS dashboard features a tab for each data element requested IPEDS. Most tabs have prompts asking for a date.
Example: Physical – Books
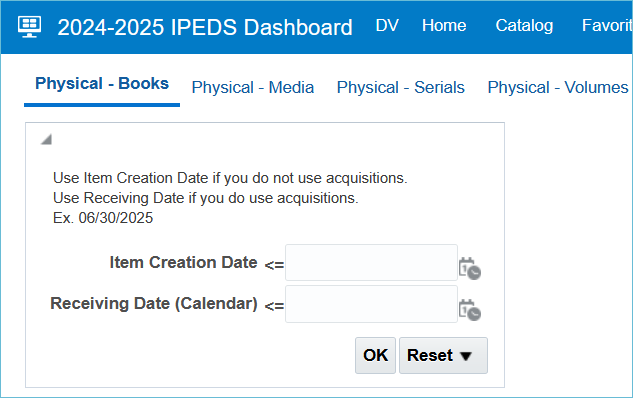
The prompt for this report asks for a date equal to or less than for Item Creation OR Receiving Date. This date would be the last day of the fiscal year for your IPEDS report, ex. 06/30/2025.
If your library uses Acquisitions, you should use the Receiving Date box, and if you do not use Acquisitions, you should use the Item Creation Date box.
Click OK to run the report.
The report appears, and at the bottom of the report, you have Export and Print options:

- Return will return you to the main dashboard where you can continue to run and view reports
- Print will print the report
- Export will give you options for exporting the report
- Create Bookmark Link will create a URL in the browser address bar that you can use to return to this report
If you have questions about the IPEDS dashboard, please submit an ODIN Help Desk ticket.