Merge and Combine Inventory in the Metadata Editor
Updated: 03/03/2026
What to do when the Metadata Editor finds matching items on save
When you save the bibliographic record you are working on, sometimes Alma gives you this message:
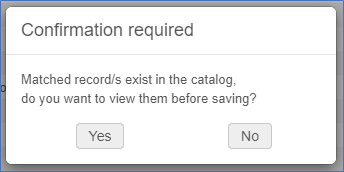
Option 1: You can click No, and Alma will continue saving.
Option 2: Click Yes to view the matched records. The matched records are listed on the right.
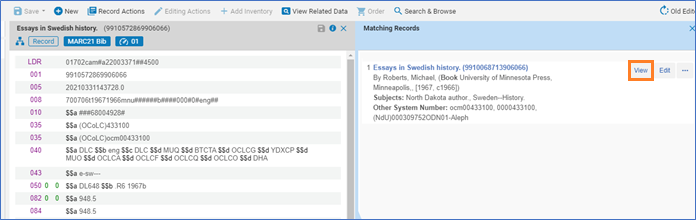
Click View to see the records side-by-side. The record on the left is the one we started with, the one on the right is the matched record.
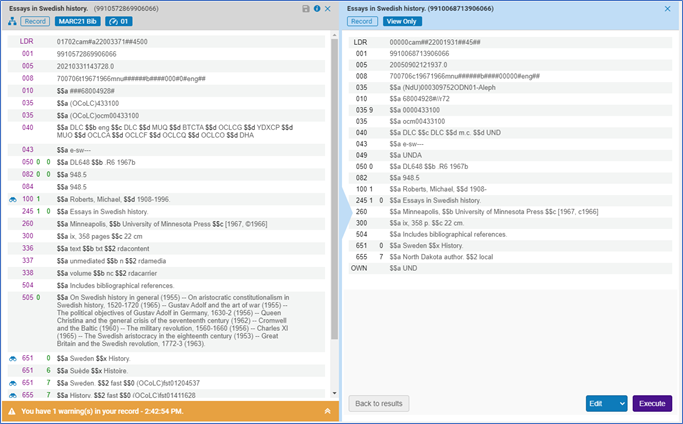
Leave the blue Edit menu button set to Edit and click the Execute button.
Now both records are loaded into the metadata editor.
The record on the left is your “primary” record. The primary record will be updated with information from the secondary record.
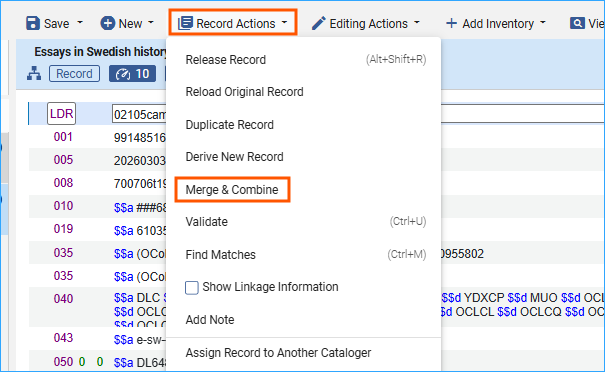
Under the Record Actions menu, select Merge & Combine.
The Merge Records & Combine Inventory dialog box comes up.
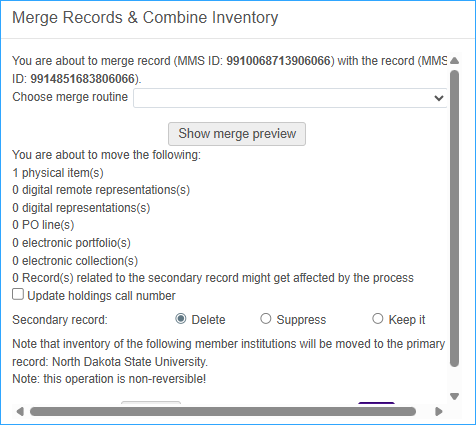
At the top of the box you can select the merge routine. You can preview the merge results. To do this, select Show merge preview. For this example, the fuller record is in the left pane of the metadata editor, and I want to keep that record, but move all the inventory from the other record to it. To do that select "Keep only old value" as the merge routine.
However, if the fuller record is in the right pane, selecting the merge routine "ODINA bib overlay" will update the left record with fields from the record on the right.
So, to keep the record on the left select “Keep only old value” for the merge routine and click Show merge preview.

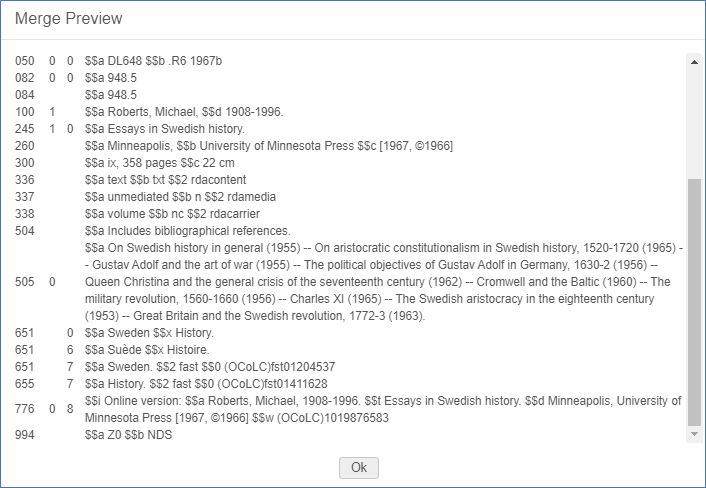
Click OK to close the preview.
Note that the dialog box shows a list of everything that will be moved to the primary record:

Do NOT select update holdings call number.
You can select to keep the secondary record or suppress it. It will have no inventory after this change, so leave it at the default “Delete.”
The bibliographic record stays the same, and now all institutions are linked to the same record.

*Note: local extensions from both records will be preserved in the new record.