Setting up OCLC Connexion Client to Export to the ODIN Network Zone
- Open the OCLC Connexion client
- Click Tools > Options
- Click on the Export tab
Click Create
Image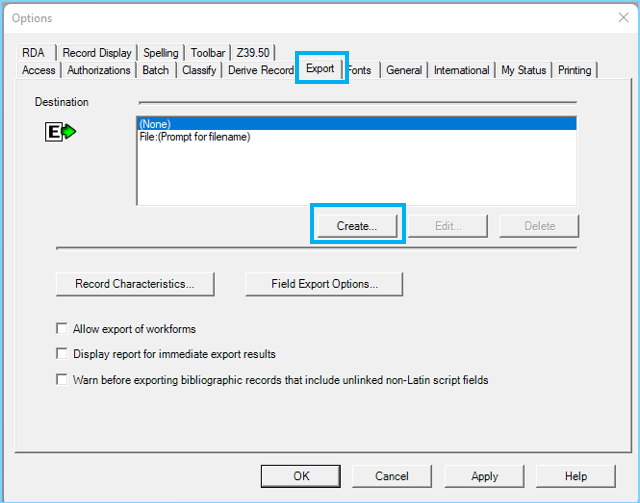
- Click on the OCLC Gateway Export radio button
Click OK
Image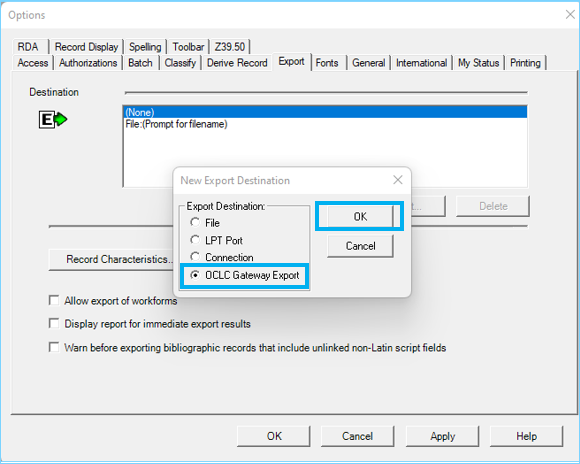
- The OCLC Gateway Export - Local System Settings screen opens
- Host Name: odin.alma.exlibrisgroup.com
- Port: 5500
- Timeout: 90
- Retries: 0
- Delay: 0
- Click on the check box: Send Local System Login ID and Password
Login ID and Password (Complete credentials are in the accompanying document on this page. Please sign into the ODIN webpage in order to download the document.)
Image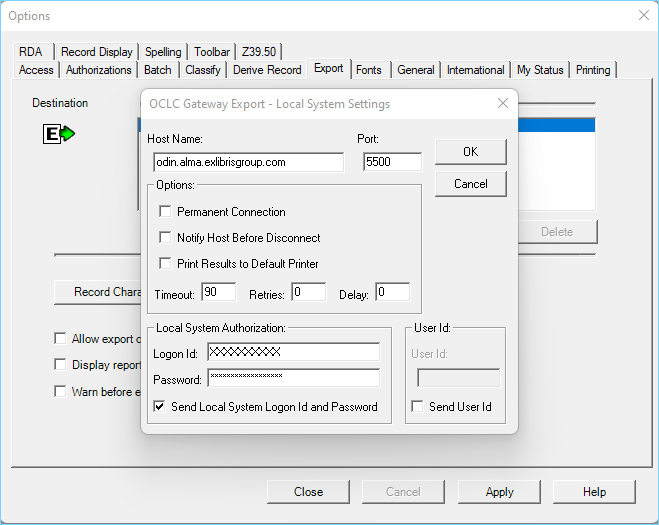
- Click OK
- The Export Destination screen opens
Edit the Export Destination name to be something identifiable: ODIN NZ Export
Image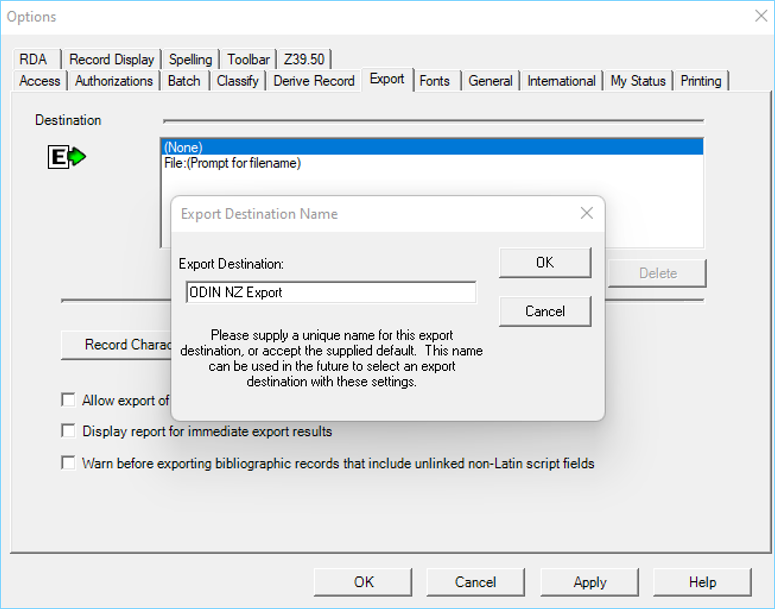
- Click OK
- Click to highlight in blue, the line: Gateway Export: ODIN NZ Export
- Click Apply
Click Close
Image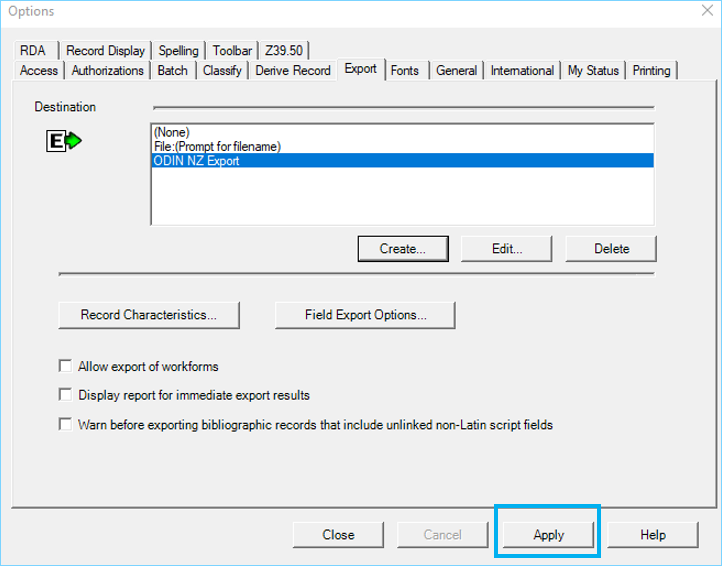
When you catalog:
- Do record edits in OCLC, lock and replace your record.
- Add local extensions in the Alma metadata editor.
To export, click the export icon or go to Actions > Export (F5)
Image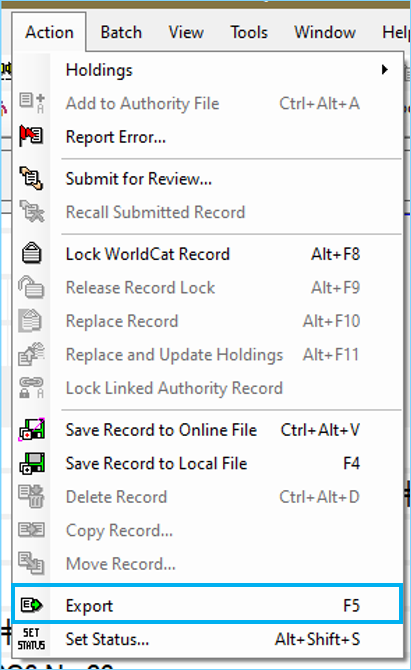
- When the export is successful you will receive the MMS ID ending in 6066.