Ledger and Funds how to create
Ledger and Funds
Creating ledgers and funds is one of the first steps in the overall acquisitions process.
As part of the Acquisitions Infrastructure at least one ledger and one fund will need to be configured before purchasing, receiving, and invoicing can take place.
Please note you can have more than one ledger and most institutions have many funds.
A ledger in Alma represents a collection of funds, while a fund represents actual money in an account.
Let us begin by creating a ledger.
Select Alma’s Acquisitions menu and in the Acquisitions Infrastructure section select Funds and Ledgers.
*Please note to create and configure ledgers you will need to have Ledger Manager role in Alma.
This brings you to a list of existing ledgers and funds.
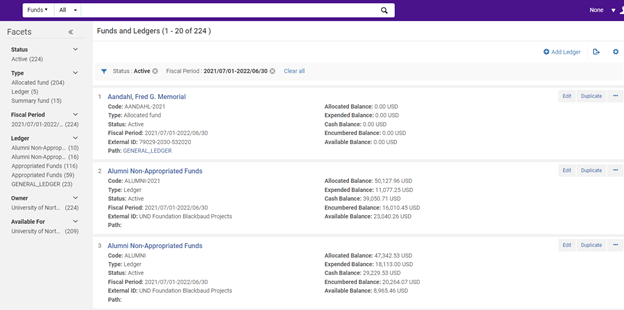
If you were going to edit and existing ledger or fund you could use the facets to narrow the results by various parameters. Note the by default only active funds and ledgers in the current fiscal period are shown. De-select those facets if you want to see all ledgers and funds.
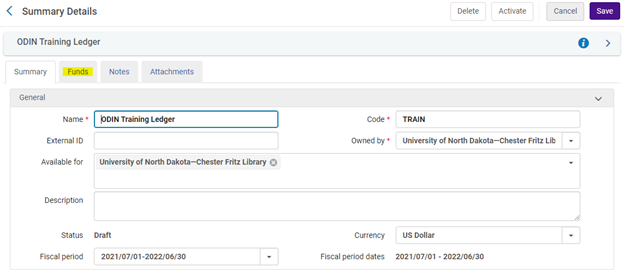
To start click Add Ledger this will open the Summary Details page for the new ledger.
You will enter a unique Name and Code and Description for the ledger. In the Owned by* dropdown you can select either your entire institution or an individual library within your institution. This is the institution or library that controls the ledger. That means this ledger will only be accessible to users who have acquisitions roles scoped to these libraries.
The Available for box allows you to define who will be using the funds in the ledger, so either your whole institution or just one or some libraries. That also means this ledger will only be available to users who have acquisitions roles scoped to these libraries.
Set the Currency and then select the Fiscal Period for the ledger. By default, the fiscal period that appears here is the first fiscal year period that was created in your Alma environment so you will want to ensure you have the correct one selected before moving forward. The dates here come from a fiscal year mapping table which you can populate by hand unless you are planning to use the Fiscal Period Close functionality. Click Activate which will save your ledger and makes it available for use.

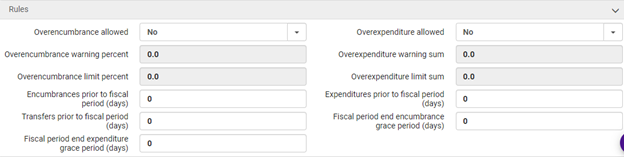
Down the page, the ledger also has a place to define rules for handling over-encumbrances and over-expenditures – Please see link at the end of this document for more information on this topic.
Now you can create a fund within the ledger. On the Funds and Ledgers page, find the ledger you created and click Edit.

Click on the Funds tab from this screen and please note to be able to add funds or edit funds you must have the Fund Manager role.
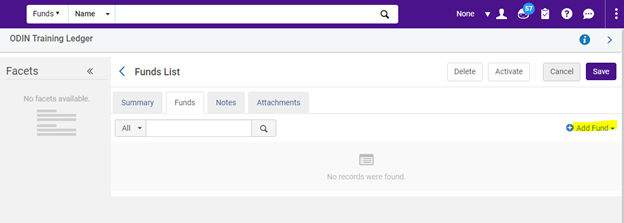
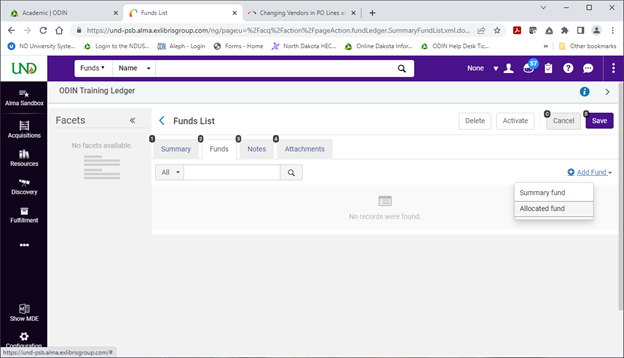
Switch to the Funds tab. Because this is a new ledger, there are not funds here yet, so click Add Fund
You will have to choose the type of fund to add: a summary fund or an allocated fund.
An allocated fund is what you have typically think of as a fund: It contains money and it used for allocating money for a pending order and then purchasing and invoicing. You can also transfer money between allocated funds. A summary fund is not used for ordering or invoicing. Instead, a summary fund allows you to group similar allocated funds together so that you can track them more easily. You cannot add money or perform transfers with a summary fund, and summary funds are optional.
We will choose the Allocated fund.
This opens the Summary Details page for the Fund. Enter a unique Name Code for the Allocated Fund.
The Currency and Fiscal Period are inherited from the ledger as well and cannot be changed. The Available for box inherits the ledger’s list of which libraries can use these funds; however, you do have some control over this. You can remove libraries from using this fund, but you cannot add any libraries that are not already on the ledger, unless the institution is what was inherited from the ledger.
Fund types are informational purposes only and they can be defined in the Acquisitions Configuration area.
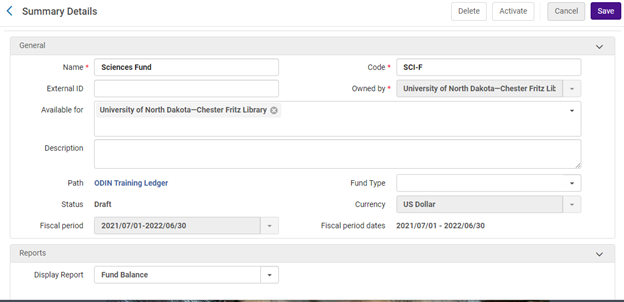
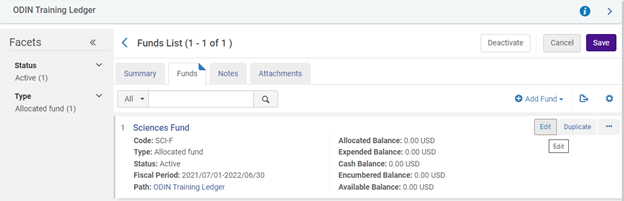
Click Activate. Activating the fund also saves it and brings you back to the Funds list within the ledger.
At the moment, there isn’t any money in this fund, so click Edit. Here are the funds details you set up earlier but now Alma has added tabs for Transactions, Notes and Attachments.
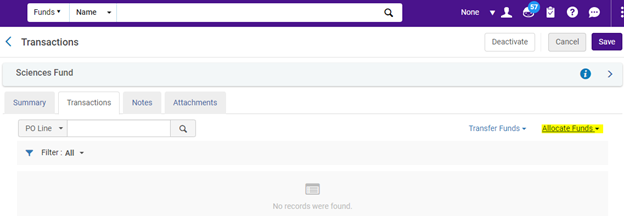
Alma has added tab for Transaction, Notes, and Attachments. Select the Transaction tab, then click on Allocate Funds.
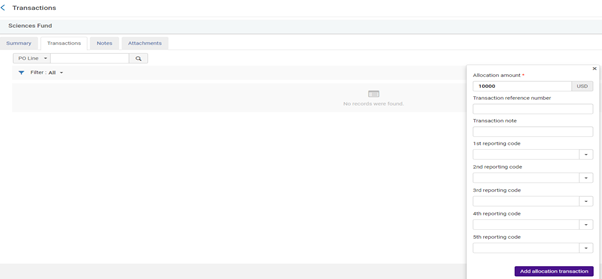
In the popup window, enter the amount of money in the fund, then click on Add allocation transaction.
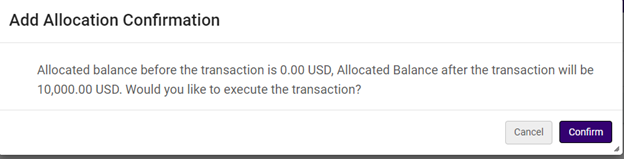
Confirm the transaction and then you can see the transaction in the Main Fund’s transaction list. You can also see that the balances have been updated.

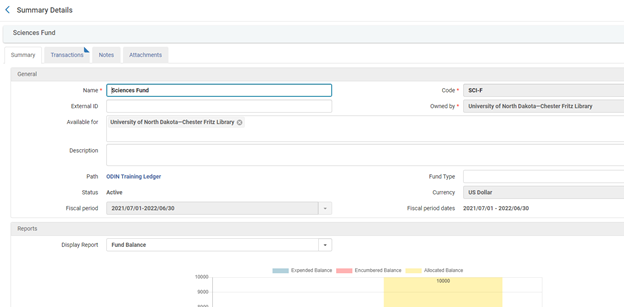
Back on the Summary tab, scroll down to the reports section. There is now a graph that shows the Fund Balances.
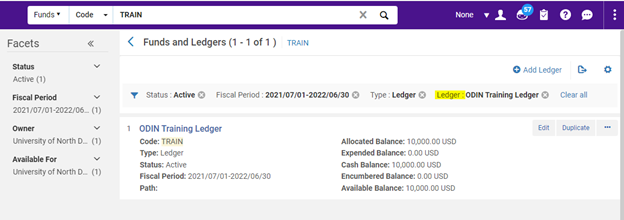
Click Save. This takes you back to the Funds and Ledgers list, but filtered to the ledger you just created, so you can see your new ledger and funds that belong to the ledger.