Creating orders in Alma
Creating orders in Alma
There are three ways to create orders in Alma
Manually entering a PO (purchase order) Line
Importing an embedded order data or EOD file from a vendor
Real Time ordering from a vendor using Alma’s API
Manually Enter PO Line
No matter what kind of resource you want to order, to create an order manually, you need to have a bibliographic record.
Ordering requires a bibliographic record
- Search Institution Zone
- Search e-resource in Community Zone or Network Zone
- Search external sources
- Get bib record from vendor
There are several ways to get one. If the item already exists at your institution and you are buying another copy, then you can search for the bib record in your Institution Zone in Alma, and then click Order.
For example if the item already exists at your institution and your buying another copy
Then you can search for the bib record in your Institution Zone in Alma, and the click order.

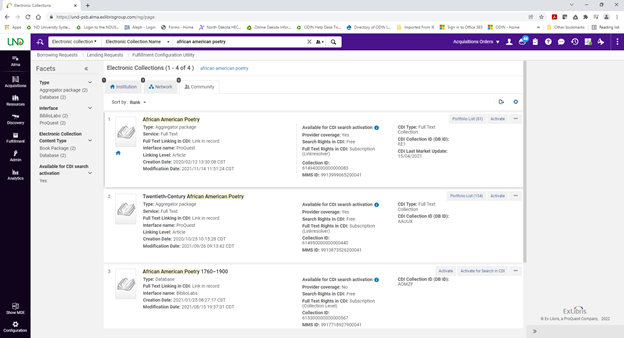
On the other hand, if you are going to order a new electronic resource, such as a collection or even an individual portfolio, by searching in your Electronic Collection, Electronic Collection Name
See picture below:
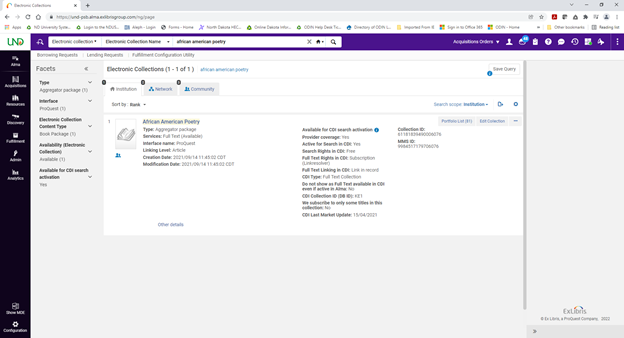
You may be able to find a bib record in the Community Zone or the Network Zone
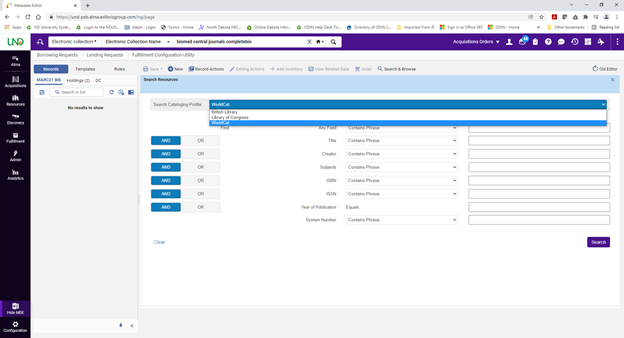
There is also the option to search for bib records in external sources,
Such as World Cat, Library of Congress, British Library
And if you have already ordered a resource from a vendor by contacting the vendor directly, and you are adding the order to Alma for receiving and invoicing, then the vendor may have sent you a bib record and you can import it into Alma.
Once the bib record is in your Institution Zone, click Order to start the process of creating a purchase order line.
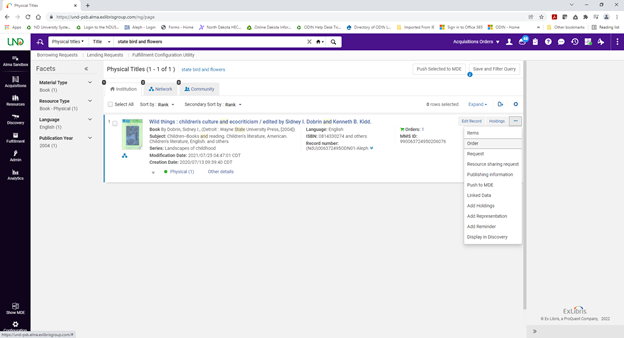
Click Order to start the process of creating a purchase order line.
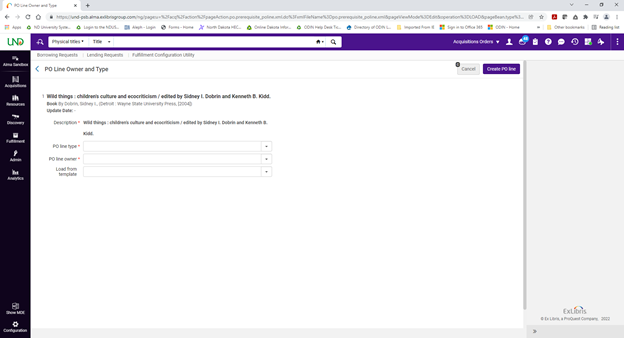
The rest of the manual-ordering process depends on whether you are ordering physical or electronic material, and whether you are placing a one-time order or a subscription.
Details about each of those processes later in this document.
The second way to create orders is by importing an Embedded Order Data (or EOD) file.
EOD files can be imported into Alma to create purchase orders, PO lines and inventory records.
You can choose to do the by uploading files or connecting to an FTP location.

The relevant bibliographic data and purchase order information is extracted from the MARC fields and subfields in the vendor’s EOD records. Taking advantage of the configuration can save your library a ton of time by automating the acquistions and cataloging workflow.
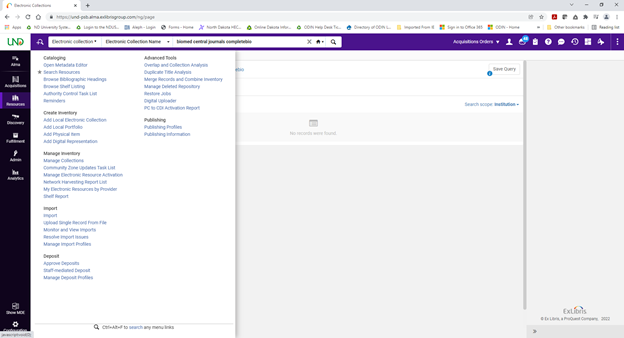
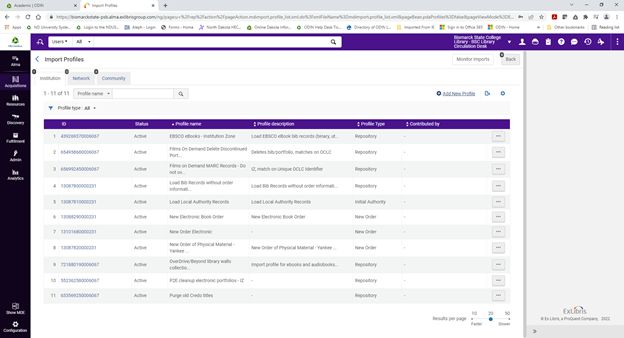
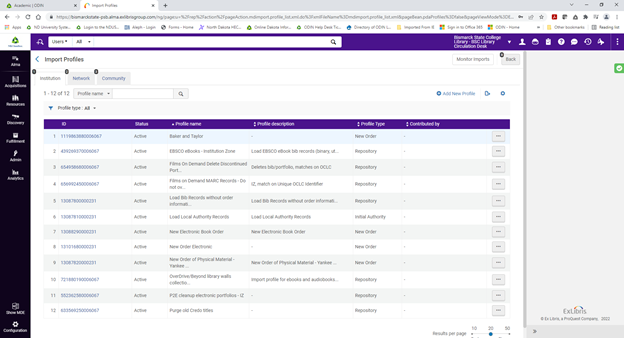
How to configure this integration. You’ll start by creating an import profile, which you can do by going to Acquistions menu and selecting “Manage Import Profiles.”
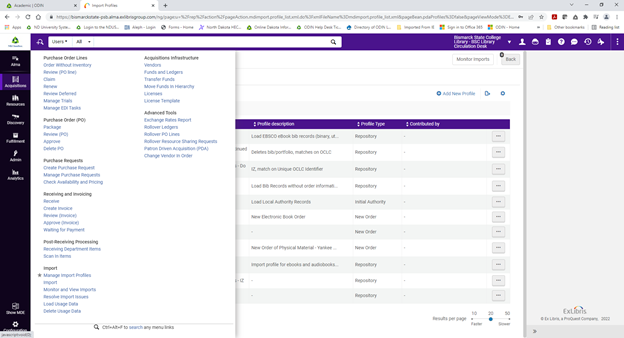
From here, click Add New Profile
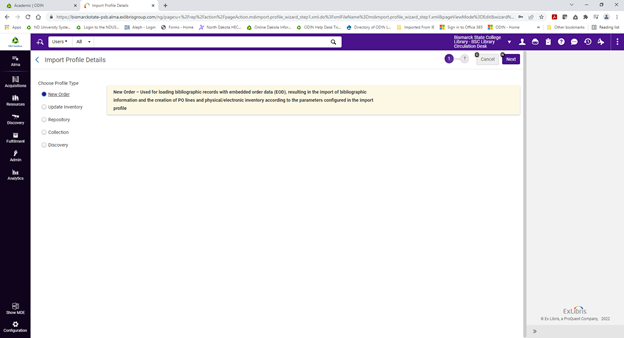
Here you will choose New Order as the profile type
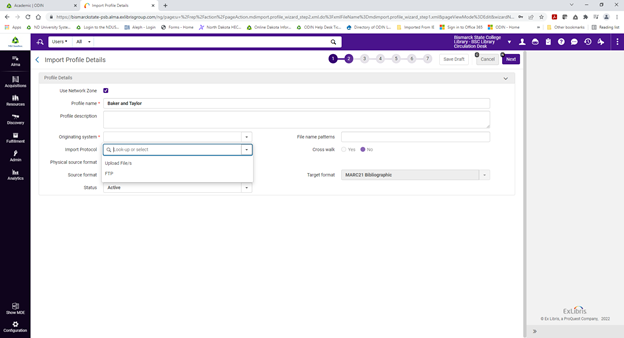
I am going to create an Import Profile specifically for my orders of physical materials from Baker and Taylor
So, I will give it a name that makes it easy to identify, and then select Baker and Taylor as the originating system. Indicate how you plan to import the file – will it be manually uploaded or connecting via FTP? If you select FTP, you will be prompted to enter the information for the FTP server you have configured in Alma.
You have the option to use filters and normalization rules, but for this profile I know I will want everything I order to be imported as is.
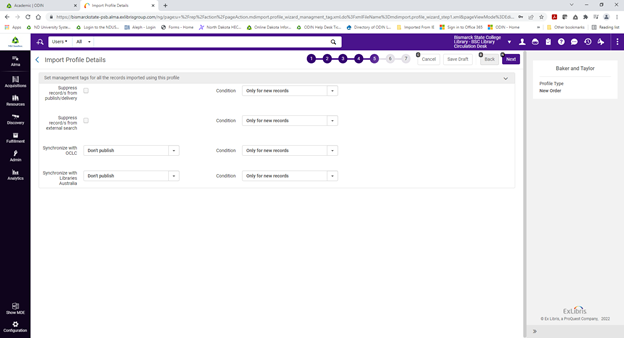
Next, you have options for how you want Alma to manage records that match a record that already exists in the system. The default settings manage the process of matching records automatically and instruct Alma to not import any records that match an existing record.
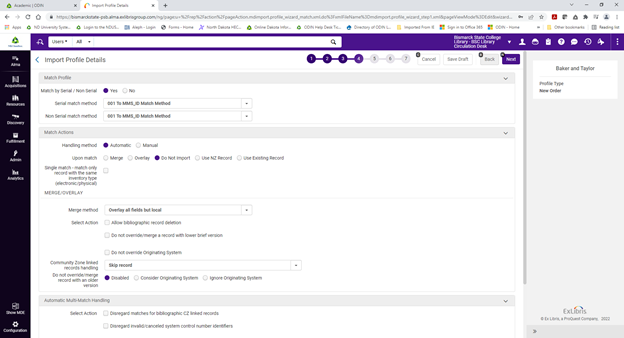
You can also choose to publish your bibs or holdings to OCLC
Now you will indicate the format of your orders, physical, electronic, or mixed. Here you can configure which MARC fields can be used to provide the listed data.
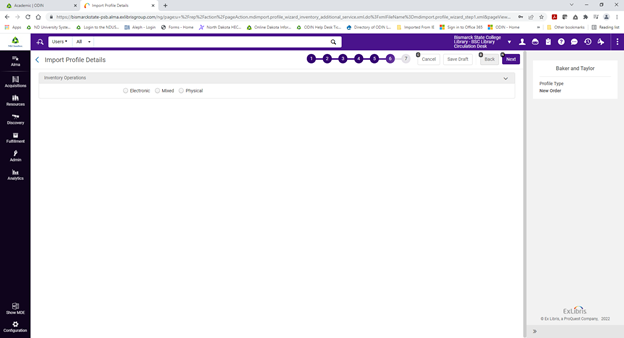
If you do not fill these in Alma will select default options.
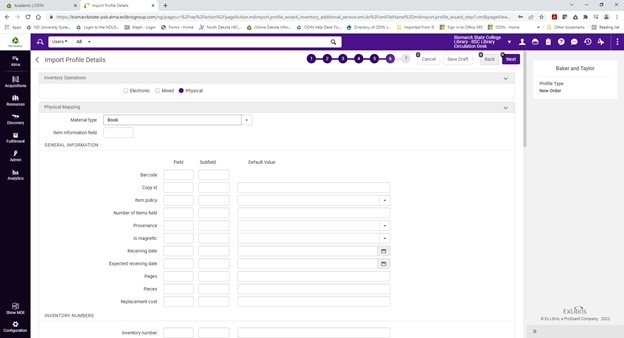
For example, if you are setting the profile up for physical orders, which includes two useful fields – the Library and Location fields and subfields. Fill in where they can be found, for example 049 $a and 049 $b.
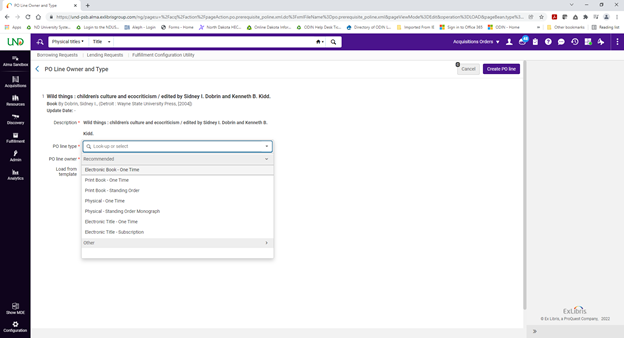
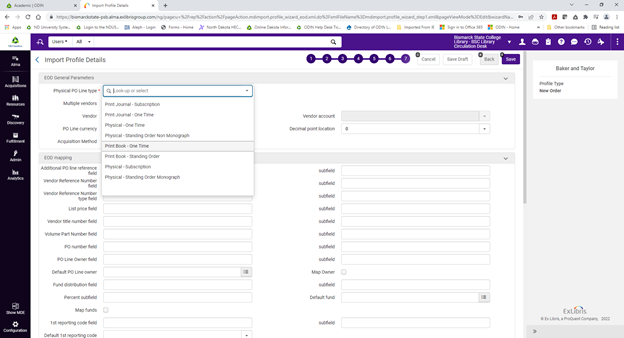
Finally, you will indicate the type of PO line that you want created for this vendor.
I am choosing Print Book – One Time for this vendor. There are a lot of options for mapping information. Look up the Embedded Order Data Field Mapping table for detailed information about each of these fields.
When you are done filling in the Purchase Order parameter click Save, and now we can see our new profile.
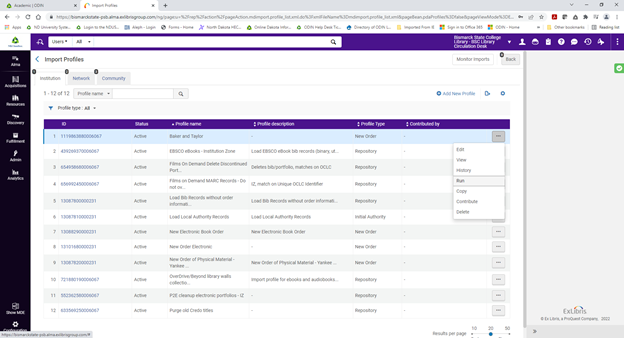
You can run the import job by selecting Run from the Action menu.
The third way to create PO lines in Alma is to use Real-Time Acquisitions
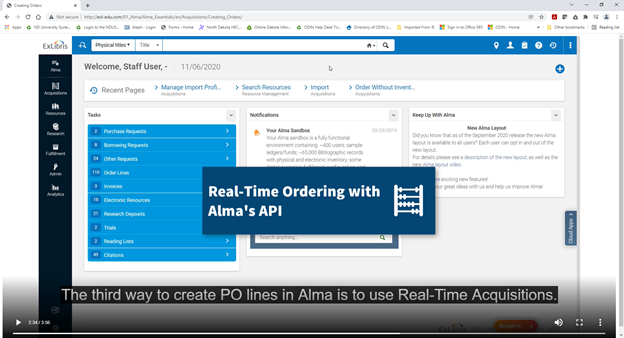
In this situation, you again purchase a resource directly from a vendor.
But in this case, for some vendors, you can set up in advance that their computer system is allowed to send information directly to Alma using Alma’s API.
Real-Time Ordering Workflow
- Set up vendor’s ordering system and Alma
- Alma runs New Order API job
- Vendor sends new order information
- Alma creates PO lines, purchase orders, and bib records.
Alma then automatically runs the New Order API job on a regular basis, new order information is sent from the vendor to Alma, and Alma creates the PO lines and purchase orders.
Also, there is some configuration your institution needs to do, which may require assistance from Ex Libris staff.
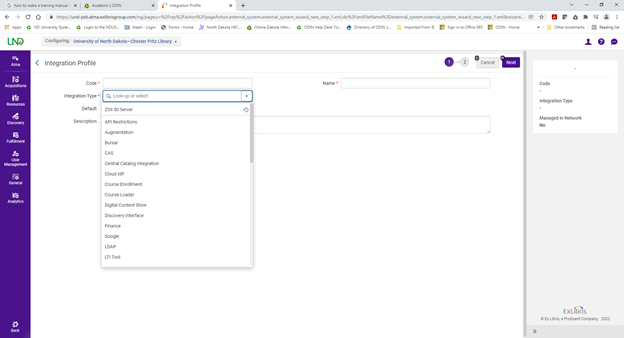
For example, you will need to create an Integration Profile for a New Order API.
To add one go to the Configuration Menu >General>External Systems>Integration
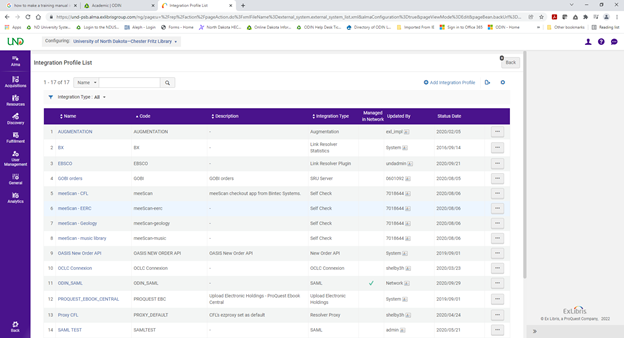
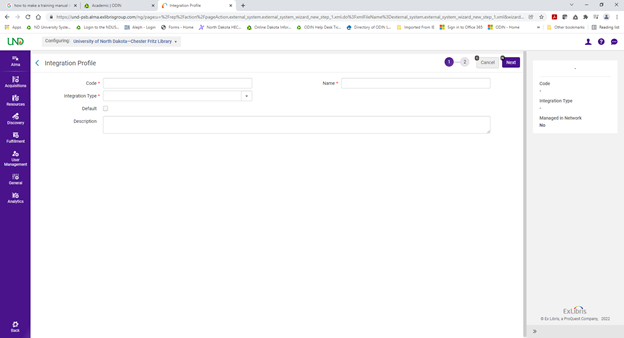
Click on Add Integration Profile and you will get to this screen
However, once everything is set up, acquiring resources is much easier for your staff, because they only need to work in the vendor’s systems, and Alma automatically takes care of creating orders.
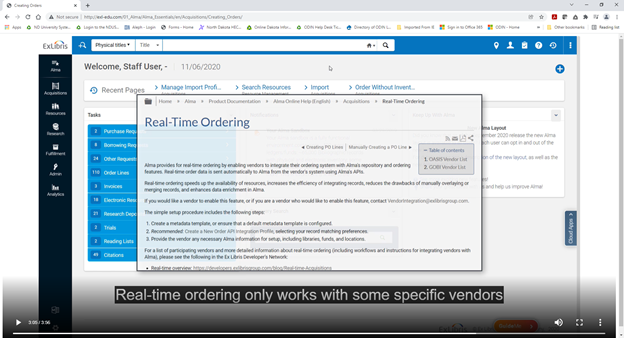
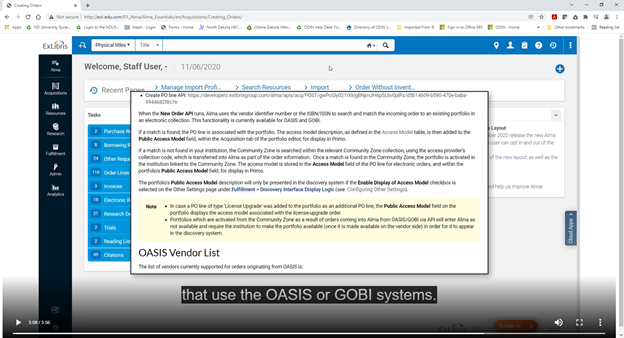
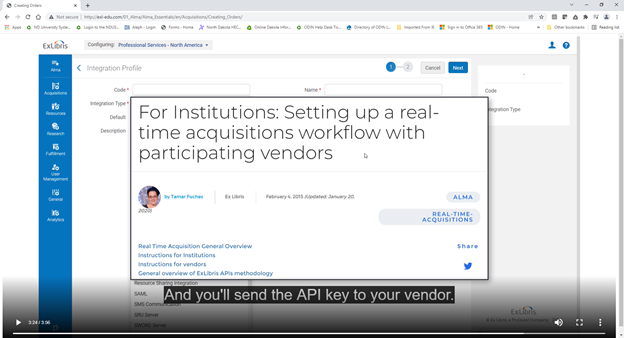
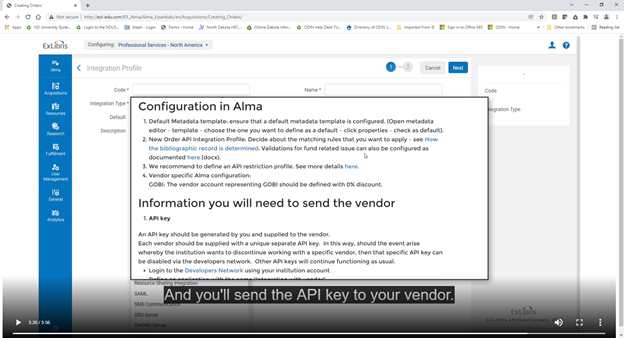
For more information on Real-Time Acquisitions see:
Real-Time Acquisitions in Knowledge Center
ExLibris Developer Network
See the documentation in the Knowledge Center and consult the Ex Libris Developer Network.